Over a year after it first went on sale, the PS5 got a feature that was revealed before it came out - the ability to take on an additional internal M.2 SSD for more storage.
With about 825GB of SSD space out of the box, and only around 667GB of that actually accessible to gamers because of the OS taking up room, getting more space is something that plenty of people will be really keen on. It's not the simplest process but we're here to walk you through how to get it done.
How to install an internal SSD for your PS5
1. Choose a compatible SSD
First up, you should know that only certain SSDs are actually going to work with the PS5 internally - they need to be an M2 drive, and even more crucially they need to fit into the slot they're allocated to, with a heatsink attached.
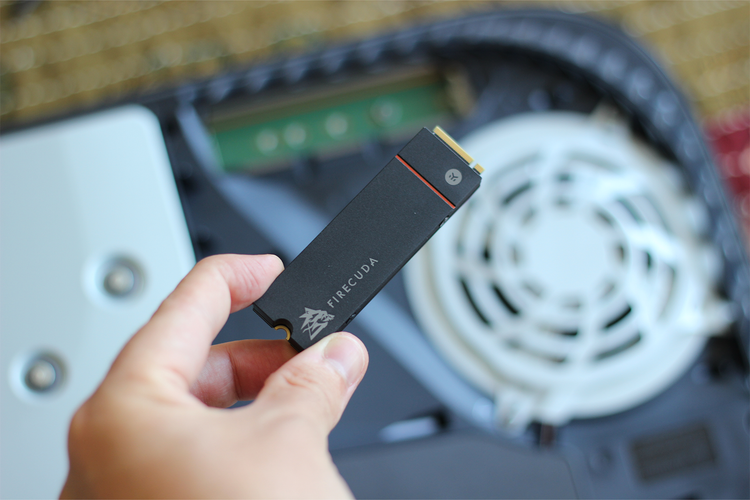
For now, we have two top recommendations to go with. First, there's the Seagate FireCuda 530. This is a lightning-fast drive that shoots past all of Sony's requirements on the speed front, and happily also has a small enough heatsink that it'll fit.

Secondly, you could also go with the SN850 from WD_Black, which is more than fast enough to work with Sony's requirements, and also has a diminutive heatsink - either is a great choice, although Sony has clarified that even the fastest drives might not perform exactly like the PS5's own standard SSD.
2. Make sure you're on the right system software
SSD expansion is available to all users now after having been limited to those enrolled in Sony's beta testing system. So, all you have to do is make sure that you're on the latest system software possible.
You can tell whether you have a software update waiting for you by visiting this part of the settings menu on your console:

3. Turn off your PS5 and unplug it
Next up, you'll want to fully power down your PS5 by holding its power button for three seconds. Leave it to cool down for a couple of minutes, then unplug it completely. This will have you ready to install your SSD.
4. Open your PS5's cover
You'll want the PS5 laying on a soft surface with the disc drive side facing upward (so upside-down compared to how it normally rests). Then, with a bit of force, you can lever the white cover off the PS5 by gripping it at the top corner and lifting it up while sliding it toward the base.
It's a little finicky so don't exert too much force - if you pull it outward a bit and slide it down toward the base screw hole of the PS5, you should be able to click it off. This will show you the slot for the SSD, although it'll be covered by a metal plate, as you can see below.

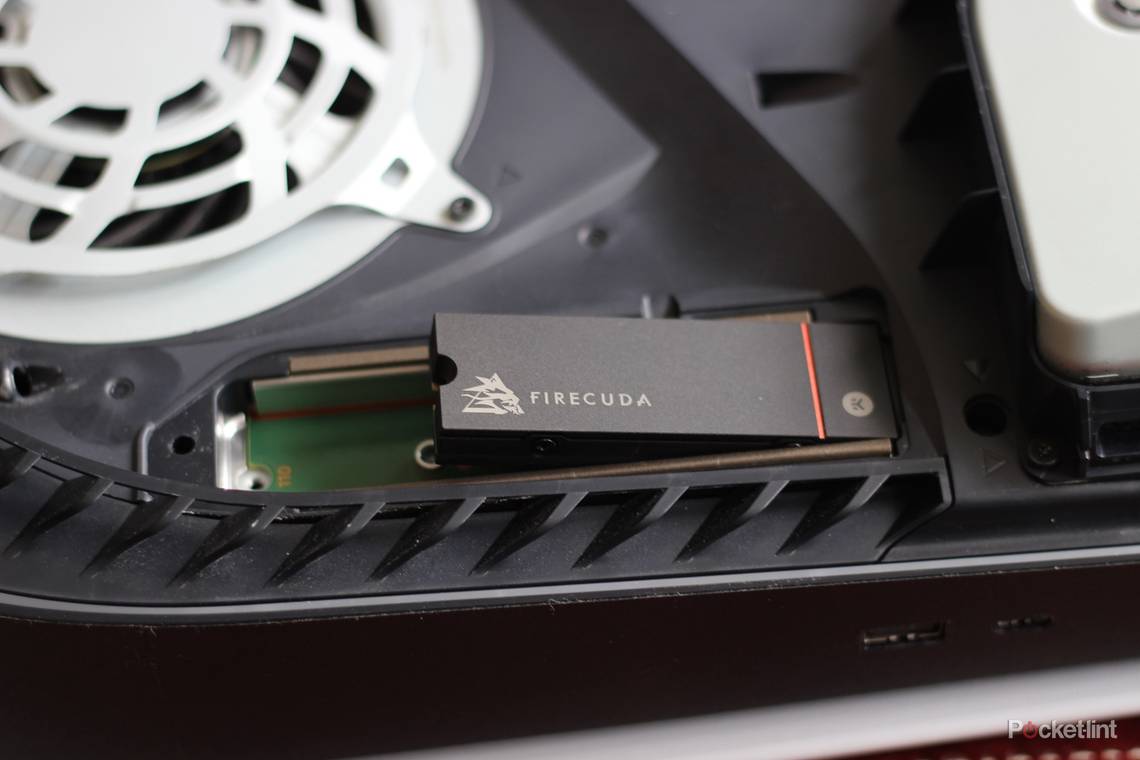
5. Remove the slot's cover and click in your SSD
You can easily unscrew this cover using a cross-head screwdriver, letting you see the slot for the SSD.

Then it's a fairly simple matter of clicking the SSD into place and securing it using the screw and spacer that you'll find within (they're at the end of the slot marked with 110).

The size of your SSD will determine where the screw and spacer secure it, and it should be fairly obvious once you click the SSD into its slot. You'll find it easiest if you click it into its housing at the base, as in the image above, and then secure it from the other end.
You'll want the spacer underneath the SSD, and the screw to go through the semi-circular housing on the SSD's end, to secure it in place.

6. Close your PS5 up and format your drive
From here, it's about going back in reverse. Once your SSD is secure, you can screw the cover for its slot back into place. Then you can reattach the white plastic side of the PS5, sliding it into place until it clicks solidly, then hook it all back up to power and your TV.
If you've done everything right, powering on the PS5 should send you to a formatting screen to set your drive up. Once that process is complete, in under a minute from our experience, you'll be free to enjoy your expanded storage and forget about the days of deleting games all the time.
If any of these steps are unclear, meanwhile, you can check out Sony's extremely detailed information page here, which also contains really granular breakdowns of exactly what type of SSD you'll want to buy, in case our two recommendations aren't to your tastes.
How to install your own heatsink on an SSD
You might rightly conclude that the cheapest way to get yourself an M.2 SSD for the PS5 would be to buy a model without a heatsink, then attach a third-party heatsink yourself before fitting it using the steps above, and you'd be right.
It's not as difficult as it sounds, either. We'll walk you through it below, using XPG's Gammix S70 Blade as an example, since it ships with the heatsink not yet attached, and more than exceeds Sony's speed requirements.
The most important factor here is size - make sure that you get a heatsink and SSD combination that won't exceed Sony's size requirements, as laid out in that detailed guide on its website.
1. Unpack your SSD and get your heatsink ready

Check which side of your SSD you'll be attaching your heatsink to - it's the side with the storage on, although if your SSD is double-sided you should just go with whichever has more storage areas. In the case of the Gammix S70 Blade, a sticker is attached to one side to stop you from accidentally installing the heatsink on there, which is handy (although it also needs to be peeled off before it goes in your console).
2. Peel off the adhesive sticker from your heatsink
Peeling back the sticker on your heatsink will expose the adhesive that will stick the component onto your SSD.

3. Attach the heatsink carefully to your SSD
From there it's a simple but precise matter of sticking the heatsink down onto the SSD gently but firmly. You can line up the notch in one end with the notch in your SSD to ensure that you'll be able to fix it in place in your PS5 when you come to install it.

Make sure that you align it straight, and you'll be all finished - the drive is now ready to be installed in your PS5, following the steps we outlined further up. So long as your heatsink is sized appropriately to fit into the expansion slot in your console, you'll be enjoying expanded storage very soon.