One of the more advanced features offered by the Samsung Galaxy S7 and the Samsung Galaxy S7 edge is raw shooting.
This is a camera feature that's been creeping into smartphones over the past few years. We first saw Nokia announce it and it's also been offered by the likes of HTC.
With Samsung offering it on the Galaxy S7 and Galaxy S7 edge (as well as SGS6 and Note models), here's everything you need to know about shooting raw.
What is raw?
Raw is literally the raw data from the sensor in a camera. Raw shooting or raw capture are terms you'll often hear used and this basically means you get access to these raw files after you've taken a picture.
All digital cameras capture this raw data and then process it to create an image file, which is the JPEG that you view, share and often keep. The reason it gives you JPEG files is because of the size: the raw data might be some 20MB or more from a camera, whereas the jpeg produced is probably only 2 or 3MB.
Raw files are saved as a particular file type. In the case of the Samsung Galaxy S7, it uses the DNG digital negative format.
In most cases when enabling raw capture you end up with two files saved, the raw data file and the JPEG and that's certainly the case with the Samsung Galaxy S7.
Why shoot in raw?
Raw shooting offers many advantages over straight JPEG capture, because you get more data. As we've just said, you have a file that has perhaps 10x the data of the JPEG file and that means one thing: more editing power.
Normally a camera captures raw data from the sensor and then runs a series of processing algorithms on it. Many of the options you select on the camera change this processing behaviour to give you a different result at the end and in some cases a camera will also run lens distortion correction algorithms too.
Importantly, however, shooting in raw means you don't have to accept the JPEG image you're given by the camera, as you get the power to edit the images before any processing has taken place.
In some cases, you might not be able to better the camera's efforts, but in others you'll be able to lift the shadows, change the white balance, tweak the contrast and saturation (and plenty more), and create an image that is closer to what you wanted, or closer to how you perceived the original scene.
Shooting raw is really about making the most out of what the sensor captures and giving you more post-processing control.
How to enable raw on the Samsung Galaxy S7
To access raw on the Galaxy S7 you have to run through the following process.
- Open the camera app
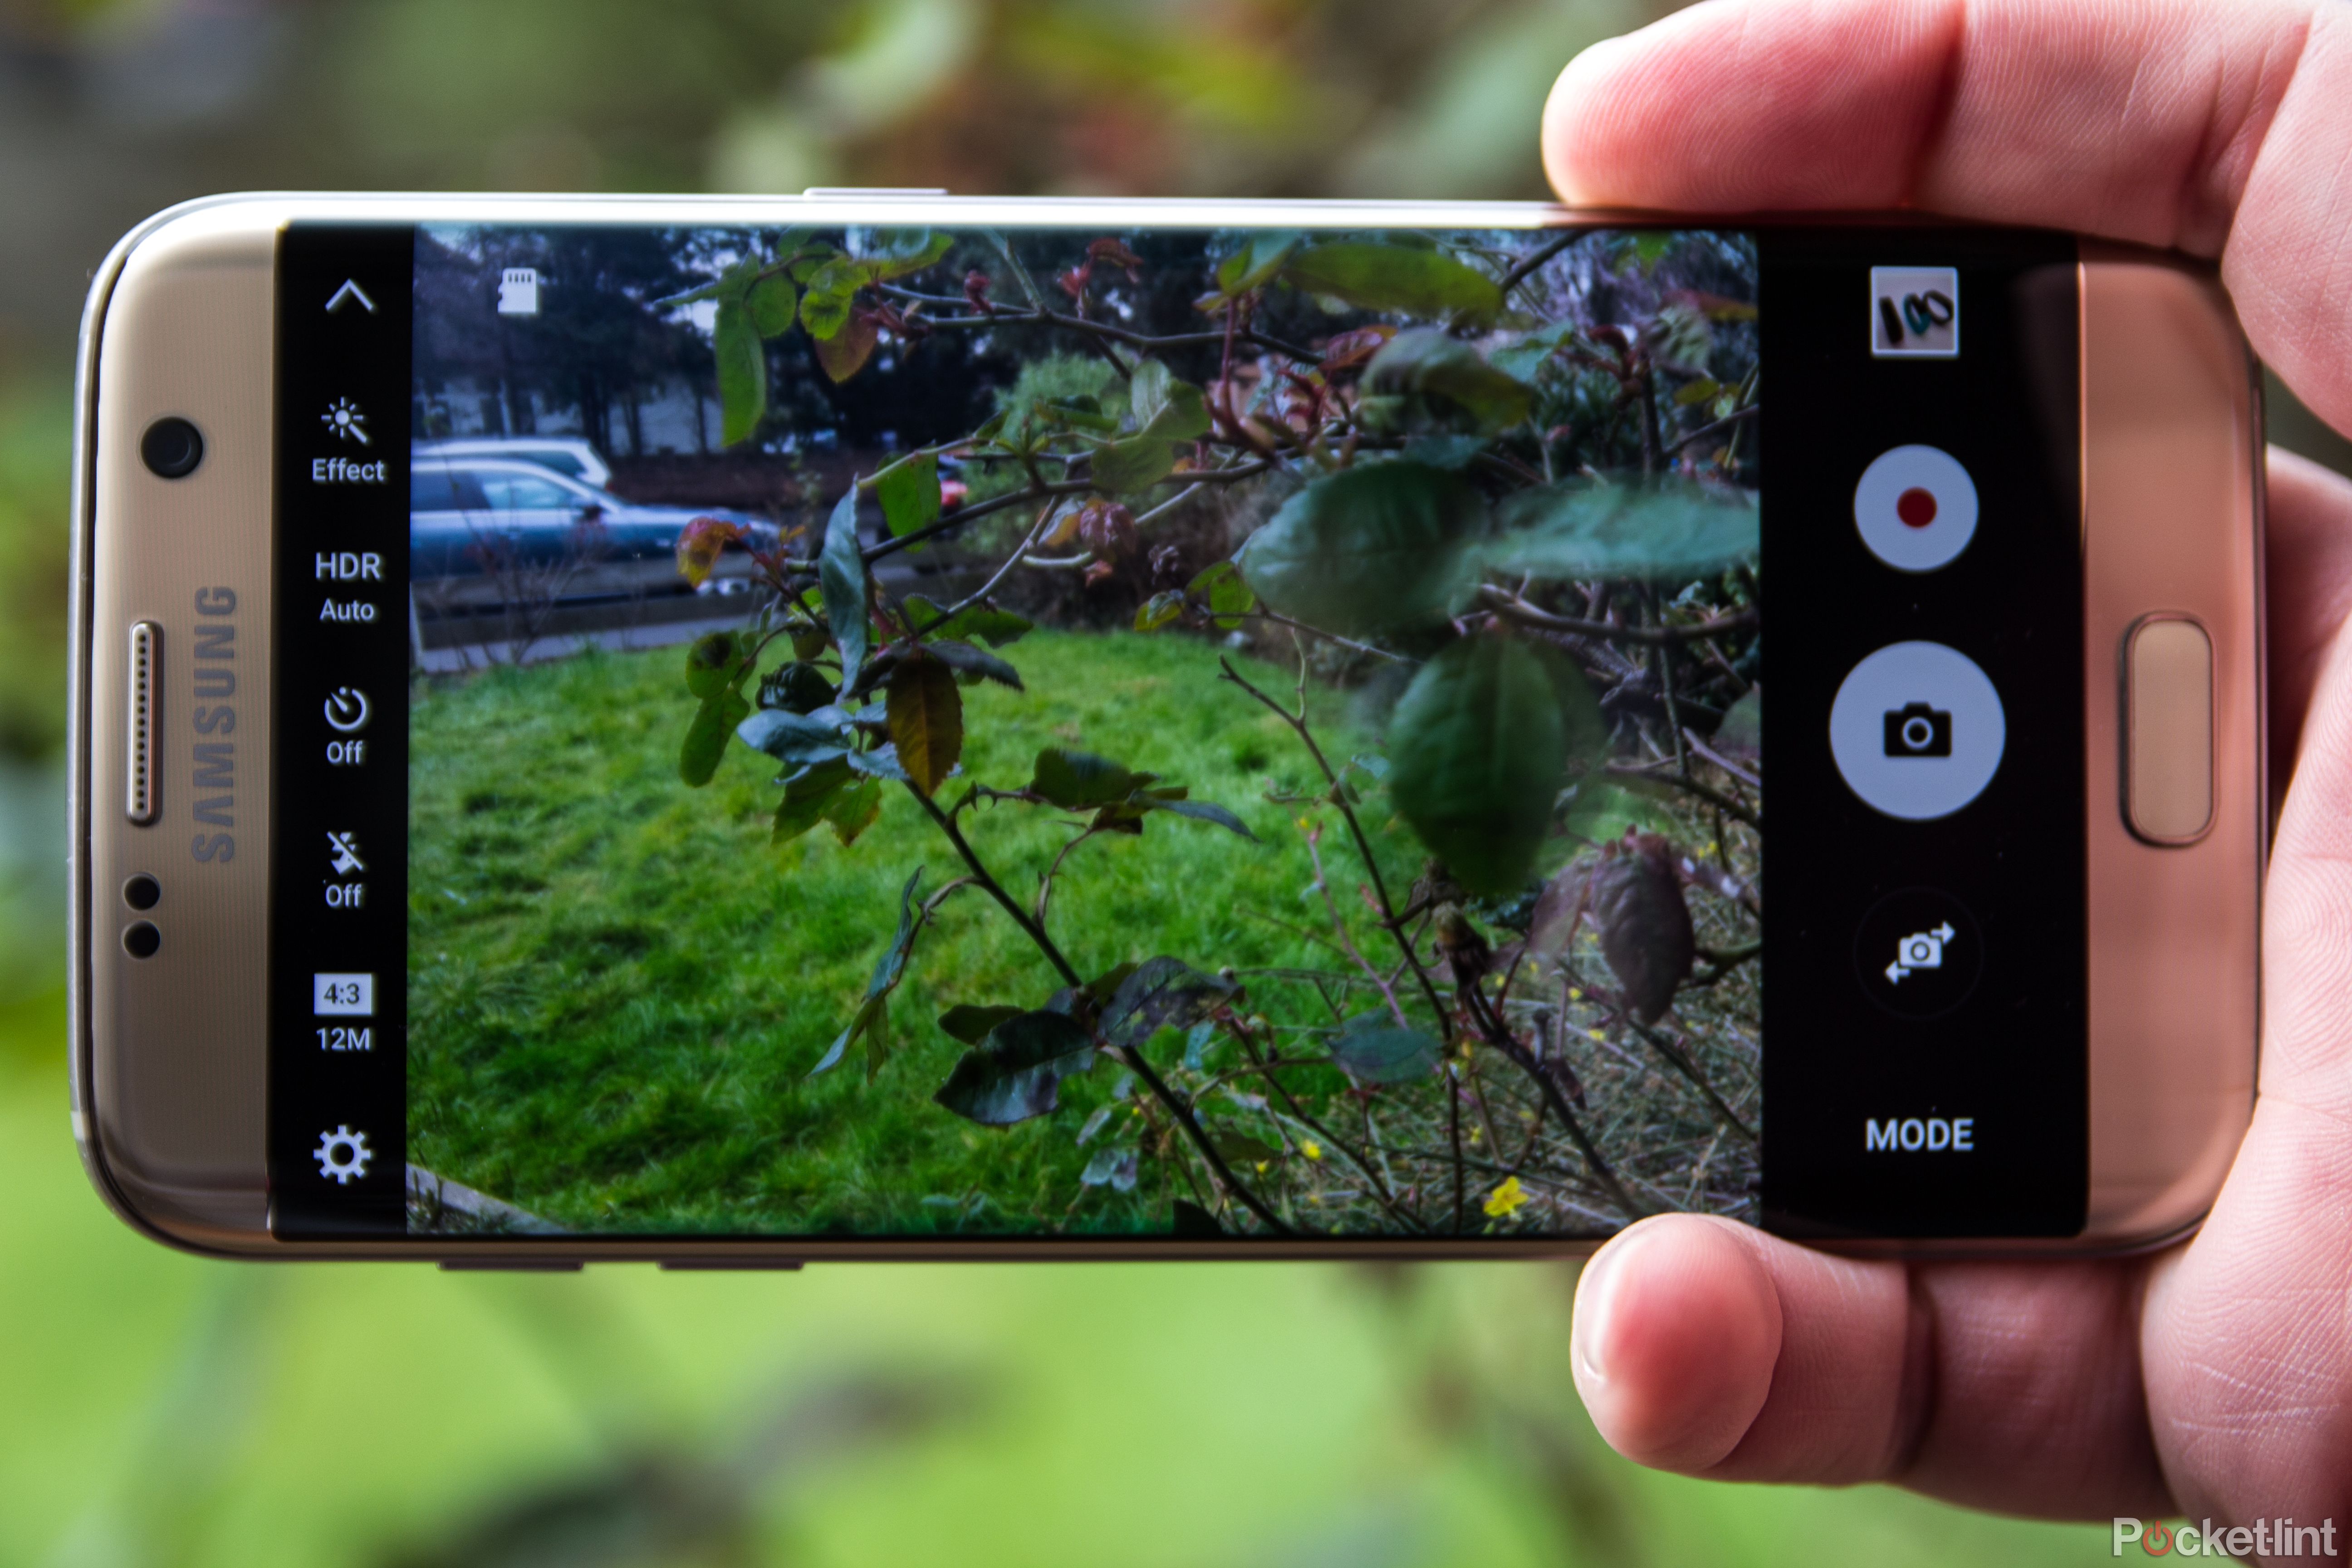
- Head into MODE and select the Pro mode.
- Tap the settings dial
- Toggle on the "Save as RAW file" option
That will then mean that your phone is saving the raw files, as well as saving the JPEG images as normal.
Where are raw files saved on a Samsung Galaxy S7?
As the DNG raw files are handled as a special case, the Galaxy S7 is a bit messy in its managing of the captured files.
The DNG files are saved to the internal device storage and you can find them in device storage > DCIM > Camera. It's a bit messy, because if you've elected to use microSD for photo storage, the photos you take in the normal shooting modes are saved to the external storage in SD card > DCIM > Camera.
That means you potentially end up with two folders for photos, splitting your shots depending on the mode you where shooting in at the time.
It's also worth noting that when you're shooting raw the companion JPEG files produced are saved in the same folder as the DNG files (on the internal storage). If you turn off raw capture but stay in the Pro mode, the JPEGs are then saved back on your external storage. Confused?
How do you view raw files on the Samsung Galaxy S7?
To perhaps add to the confusion, you can't actually view the raw DNG files on your Samsung Galaxy S7 in its natural state. You can view the JPEG files in the Gallery as you would any other photo, but Samsung doesn't provide a viewer app for the DNG files.
That means you'll need to download an app from Google Play. There are a number of options, including the likes of Adobe Photoshop Lightroom, which is the immediately recognisable name.
Again, it's also worth noting that once you've installed Lightroom, your Galaxy S7 still won't open DNG files from the file manager – it will say it isn't supported. To open the DNG, you'll have to do it from the app you install, i.e., by adding the file to Lightroom.
Using Lightroom for mobile editing of raw files
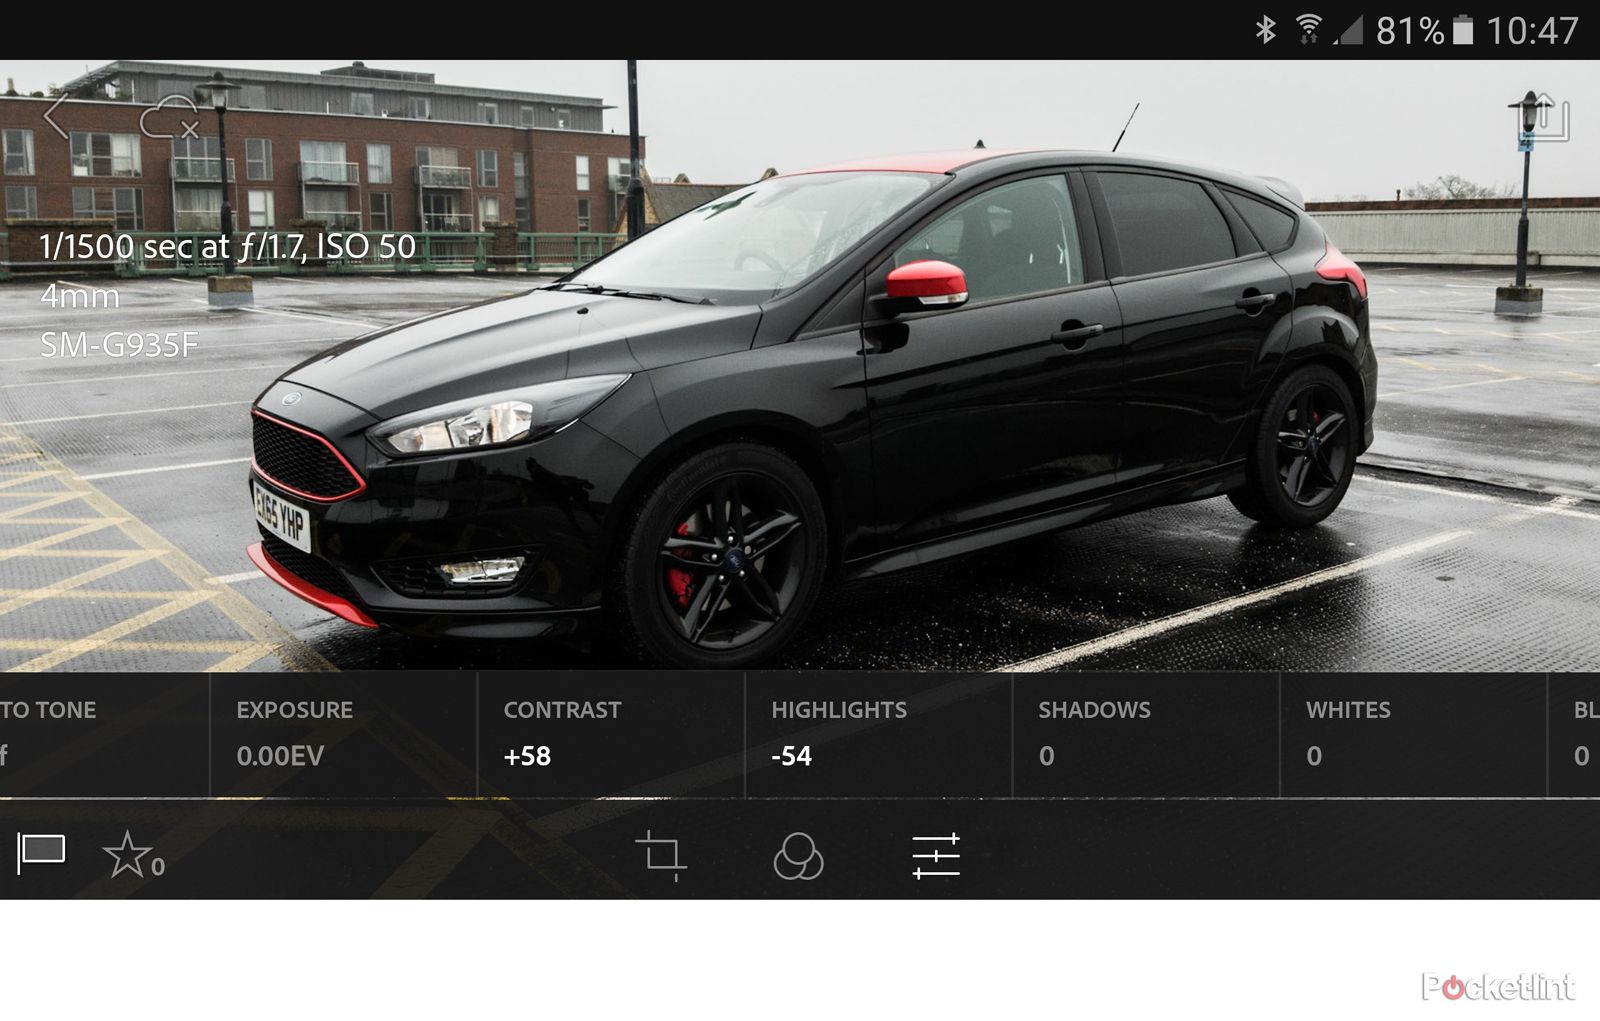
Using Lightroom as an example, you then have the power to edit your DNG files and save them as a processed JPEG file right on your phone.
Within Lightroom, the DNG files will be labelled so you know you're opening the raw file rather than the JPEG version of the same shot. Photos are imported into Lightroom and you can import multiple shots at a time to make access to them easier.
You're then presented with a full range of creative editing tools. The regular raw editing levels like exposure, contrast, white balance, highlights, shadows, clarity, saturation and more are available too you. Although these functions are available to edit JPEG images too, because there's more data, there's more for the editing software to work with.
There are a range of other filters you can apply too, such as vignette, black and white and so on.
Once you've achieved the result you want, you can save as a fresh JPEG file that looks how you want it to look, rather than how Samsung thought you wanted it to look.
How can you move raw files to a computer?
Of course there's a significant downside to this process on a mobile device. On the Samsung Galaxy S7, you only have 5.1 or 5.5-inches of display. The AMOLED display isn't hugely realistic in colour tone either, so it's difficult to gauge exactly what your image really looks like and how it will appear to other people.
If you're serious, you'll probably want to move your DNG files to a computer so you can edit in a full desktop application, like Adobe Photoshop, which comes with a raw editor. This has the advantage of giving you a lot more space to work and if you have a quality display, the colour tone is likely to be much more natural.
Moving the files to a computer is easy once you know where to find them as we outline above. Then you can either connect your device via USB and access the appropriate folder, or (and this is the method we prefer to use) transfer those files wirelessly.
If you're on a good Wi-Fi network, then it's easy enough to navigate to the folder through the file manager, select the DNG files you want and upload them to cloud storage, like Dropbox, OneDrive or Google Drive. You can then have these sync to your PC and make edits on your computer, saving the final JPEG files you want.
Should I shoot raw on my smartphone?
The big question is whether any of this is worth doing. The first thing to understand is that raw capture isn't a silver bullet. Shooting raw doesn't mean you automatically get better photos. In many cases, the raw data is in a worse state than the JPEG you're supplied, especially in smartphones.
Smartphones do a lot of processing to make pictures more acceptable and that's noticeable when you look at the raw DNG image against the processed JPEG Samsung supplies. If nothing else, the raw file shows us what the camera is doing before Samsung corrects the image using its algorithms.
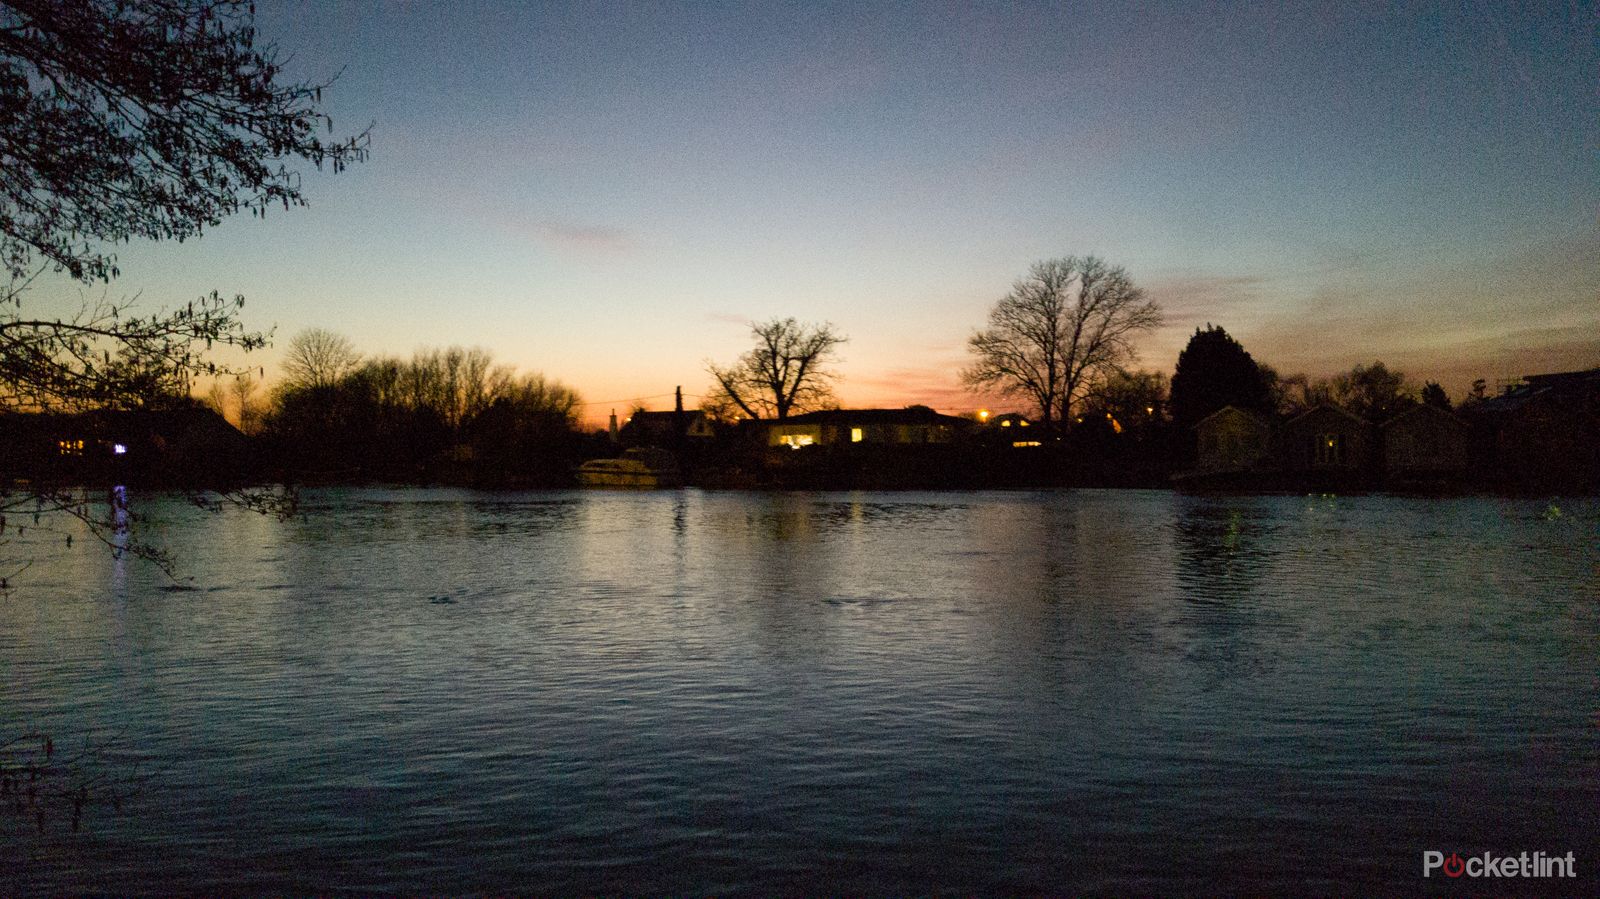
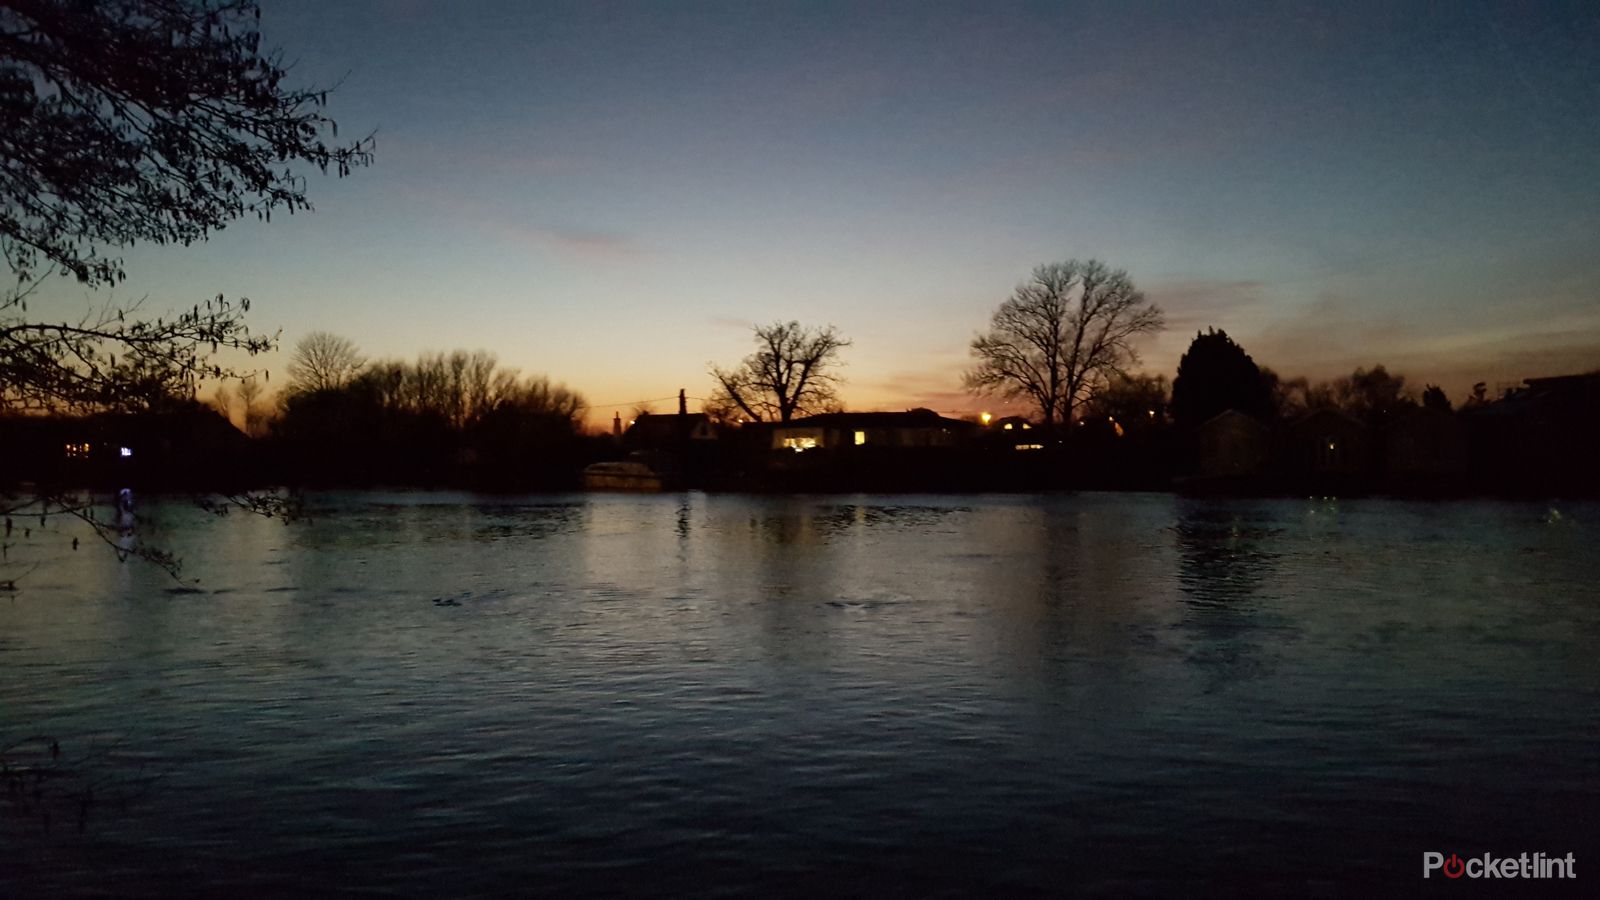
The above image was shot in dark conditions, typical of a fleeting sunset you might grab. It was handheld, which explains some of the softness from handshake. Samsung boosts the ISO to 1000 to capture this image and that results in a lot of noise. It's slightly brighter than the real life scene and the colours aren't as rich.
The SGS7 then processes this, hiding the noise and losing some detail in the process, as seen below. The raw image has a lot more detail in the water surface, for example, and there's detail around the leaves on the left that vanishes in the processed file. That's because Samsung is hiding the noise through processing. The image is slightly more muted, but it's still a pretty good result.
If you think you can do better with the DNG file, then raw shooting might be something you're interested in. Of course, what constitutes a good image is very much subjective.
Although the noise is processed away here, you might think that the noise is acceptable if it gives more detail. Some grain adds character, and perhaps more character than over-processed smearing.
Having the DNG file gives you more power so you can tweak things with more precision and more data before making a final image file that's more like the scene you saw. Of course, some of this can be done with filters on the standard JPEG, but you can't recover detail that's been processed away in Samsung's final image.
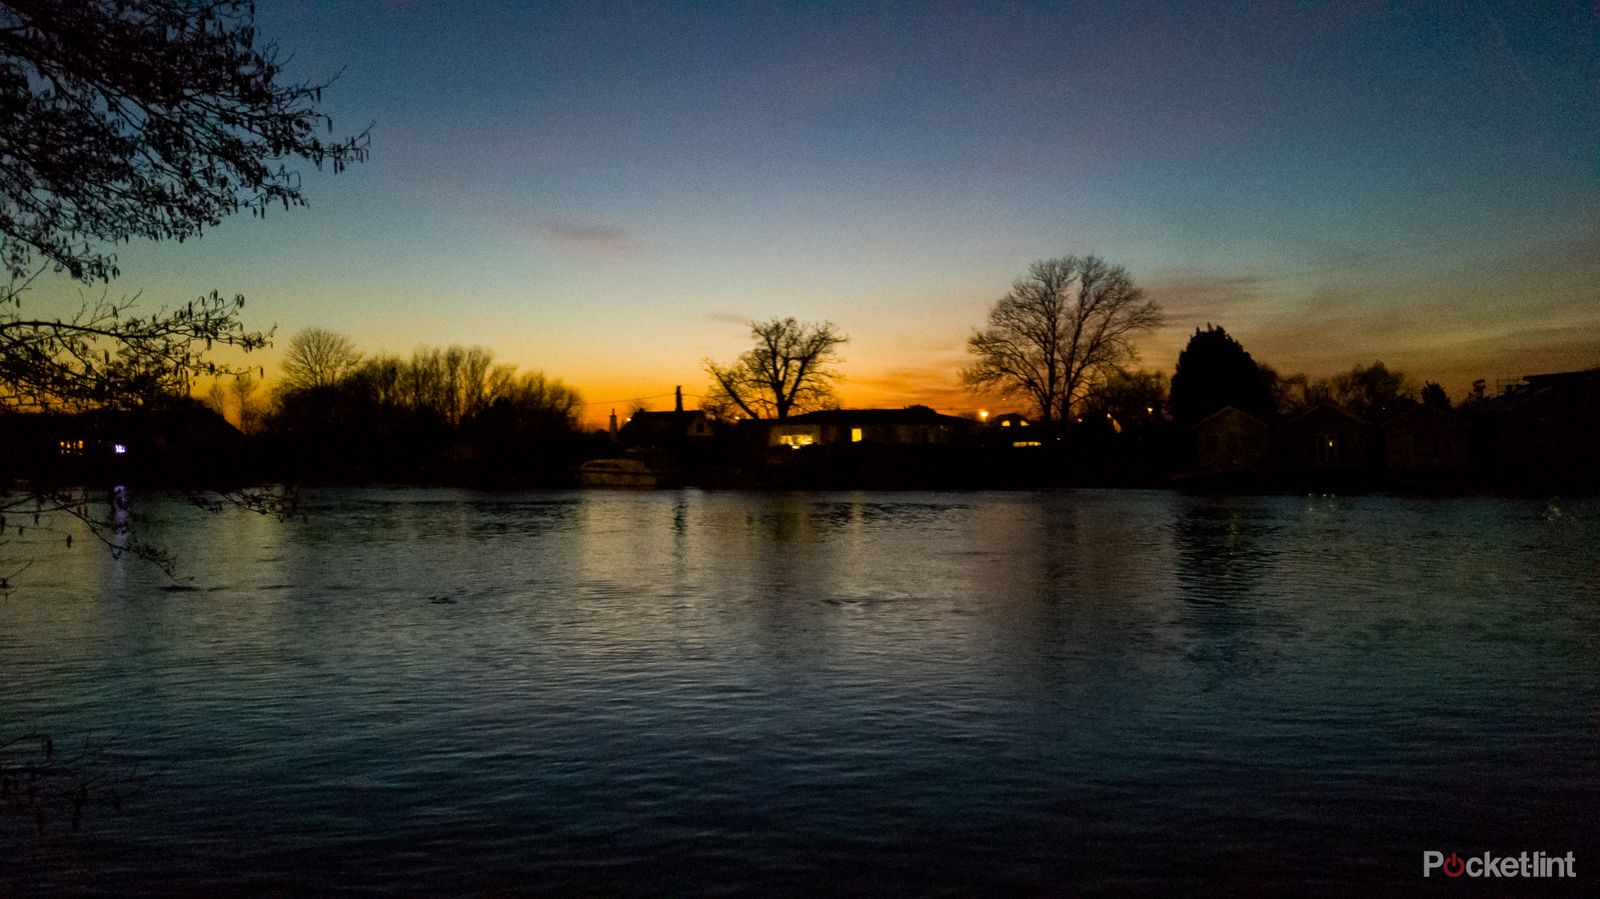
We moved the DNG to a PC and gave it a quick edit, returning the colours back to how we remembered it. We've reduced the processing on the noise so there's some grain remaining, but there's more detail too and more contrast in the image.
This is just one example of course and on an ad hoc photo. The time it takes in this situation is minimal and this is really about undoing some of Samsung's processing. In other photos, you might be lifting shadows to restore detail, for example.
The question you really need to ask yourself is whether you're taking photos that you think could be significantly enhanced by having more editing control. If you're just looking to tweak the contrast and fire it over to Instagram, it is probably unnecessary.
But if you feel that Samsung's photo processing is losing information in your images that you want back, the raw shooting is the way to go. Generally speaking, we think the Samsung Galaxy S7 creates great consistent images. If there's a very particular photo we're after in conditions that we're not totally confident the phone will excel in, then it's simple enough to shoot raw and have those files for editing when needed.

