
Quick Links
The Meta Quest 2 is a great VR headset that's highly flexible and a lot of fun to play with. There are a few things you can do to get even more out of it though, so we're here with some tips and tricks to help you make the most of your favourite VR device.


Keep your Quest 2 up-to-date
It might seem obvious, but it's well worth keeping your Meta Quest 2 headset up-to-date. The company is regularly releasing new updates to the headset which include significant improvements you don't want to miss out on.
Recent updates for example include a new custom skybox view for your home environment and improvements to the guardian system. With the latest update installed the Quest 2 will be better at remembering your previously configured boundaries, so you can spend less time drawing them when you switch location.
To manually check for headset updates:
- Press the menu button on the right-hand controller
- Click on the settings cog icon on the quick menu at the bottom
- Click on the settings cog at the top of the screen
- Then click on system on the top-left of the menu
- From there look for software update and click the update button if you can
Turn on the passthrough view
It's far too easy to lose where you are in the real world when you're fully immersed in a virtual reality experience or game. Sure, the guardian system is great for ensuring that you don't bump into things but it can still be disorienting.
Other times you just need to see what's going on around you without actually taking the headset off. This is where the passthrough view comes into play. This is a feature of the Meta Quest 2 (and Meta Quest Pro) that allows you to use the external tracking cameras to easily see what's going on around you.
Better still you can turn on a setting so you can turn this view on and off on a whim.
- Put your Meta Quest 2 headset on
- Tap the menu button on your right-hand controller
- Tap the settings options
- Find the "Guardian" settings
- Find the option to "double-tap for passthrough" and apply it
With this mode turn on you can then quickly just double-tap the side of your headset to switch to a passthrough view and double-tap it again to dive back into your game.
 Use hand tracking
One of the first awesome updates Meta rolled out for the Quest 2 was the ability to use hand tracking with the headset.
This puts those tracking cameras to use so that you can ditch the controllers and use your hands to navigate around inside the headset.
With hand tracking turned on you can interact with the various menus with ease but it's also possible to play a number of games and experiences with just your hands as well. This is a worthwhile thing to try as it adds a new level of immersion to your virtual reality experience when you can get hands-on with virtual objects, rather than relying on your controllers.
It's easy enough to turn on hand tracking on your Meta Quest 2 as well:
- Pop your Quest 2 on and turn it on
- Tap the menu button on the right controller
- Click on the settings cog on that menu
- Then through the settings click on the "Movement tracking" option
- In there navigate to "hand tracking" and click to turn it on
- Put your controllers down and follow the prompts in the tutorial to discover how it works

Watch some of your favourite shows with your Quest 2
The Meta Quest 2 isn't just for playing virtual reality games you can also use it for other things. For instance, did you know you can use it to watch Netflix, Amazon Prime Video and YouTube?
This might seem like an odd use, but it's actually a great option for personal viewing as you not only have a much larger (virtual) screen to watch your shows or films on but also a personal viewing experience.
There's a lot to be said for strapping on your Quest 2, blocking the surrounding world and just soaking in some of your favourite content.
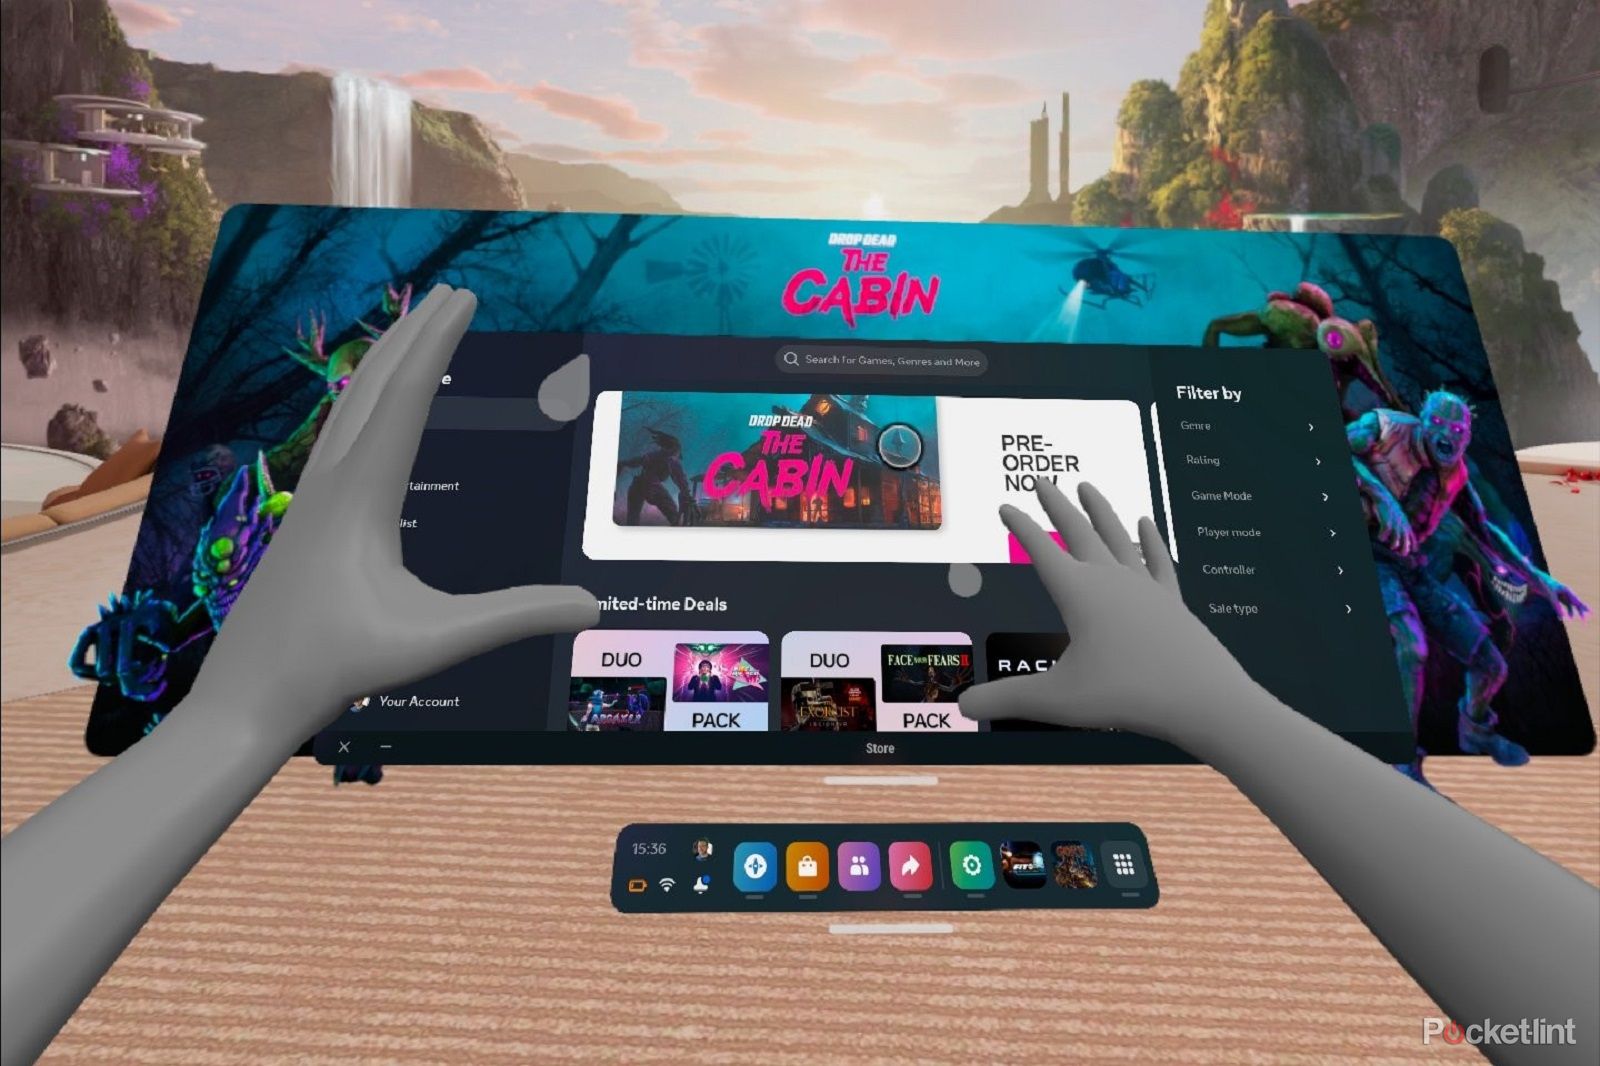
Use the app to download games
Chances are that you downloaded and set up the Meta Quest app when you first set up your headset. You might not have used it much since then, but did you know that you can use it to browse for new games and also to install games remotely too?
If your headset is turned on then you can use the app to tell the headset what to do in terms of downloading new experiences. this makes it far easier to purchase games and install them than having to do it inside the headset.
The Meta Quest app can also be used to keep up to date with sales and new releases too.
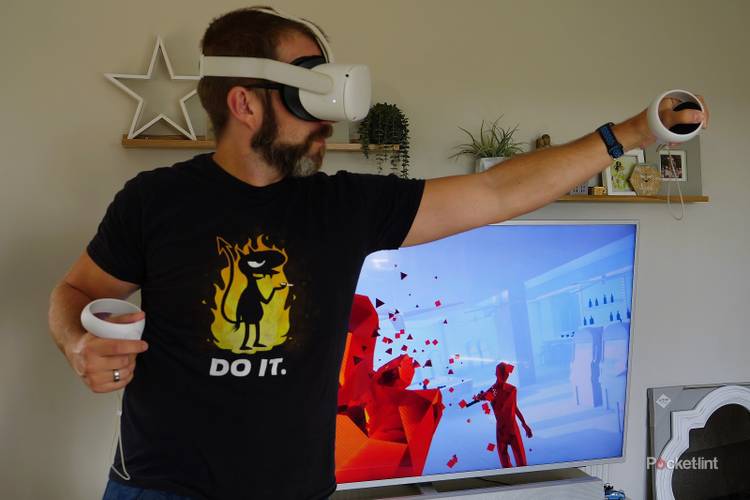
Cast your Quest 2 to your TV
The Quest 2 might seem like a lone experience that only one person can enjoy, but it doesn't have to be. Did you know that it's possible to cast what you're seeing to your television?
This is a great way to get your family or friends involved in what's happening as they can see what you're doing and poke fun at your Beat Sabre dance moves or just chip in with their thoughts.
If you're taking it in turns to use the headset then casting can also be a great way for everyone to stay involved in the action and to make it a less solitary experience.
You will need a casting-compatible TV to do it but after that it's really easy to setup from the headset or via the app. We've written about how to do that here.
Use voice commands with your Quest 2
As well as using your VR headset with your controllers and with your hands (if you've turned hand tracking on) you can also use various different voice commands with your Quest 2.
You first need to turn these on:
- Put your headset on and turn it on
- Press the menu button on your right controller
- Click to access the quick settings options
- Choose the voice commands option
- Click "start setup"
- Follow the prompts and then set a shortcut
With the shortcut enabled, you can then double-tap the menu button to activate the voice command option. You can then ask "What can I say?" to get a list of possible voice commands. These commands include all sorts of things so just double tap then say what you want to do. Examples include:
- "Open device settings"
- "Go to sleep"
- "Open Beat Saber"
- "Take a photo"
- "Start casting"
- "Open library"
Share your Meta Quest 2 games
Did you know that you can also share games and apps on your Quest 2? This is ideal if you're sharing your Quest 2 headset with multiple family members and don't want to interfere with each other's save files.
This logic also means you can play the same games without having to buy them twice. All you need to do is to create a sub-account and grant access to your personal games library. We've talked through the various steps to do this here but it's relatively straightforward.

Tether to a gaming PC
There's no denying that the Meta Quest 2 headset has access to a library of fantastic games via the Oculus Store. But if you are running out of things to play then it's also worth looking into tethering to a gaming PC.
With the power of Meta Link, you can play PCVR games on your Meta Quest 2 with relative ease. This opens up the possibility of buying more games or trying free experiences via SteamVR. We've found the Quest 2 is capable of nicely playing PCVR games wired or wirelessly too, with a smooth gaming experience that's almost comparable to a dedicated PCVR headset.
You need to make sure your PC meets the minimum system requirements but otherwise, it's pretty straightforward to get started using your Quest 2 with your PC. We have written about how to do it here including details on how to tether both wirelessly and with a wire and what you'll need to do to get started.

Turn on the 120Hz refresh rate setting
Another in the long line of brilliant updates Meta has made to the Quest 2 is the addition of a 120Hz refresh rate.
There are a number of games that now support this faster refresh rate and this can really improve your experience and smooth out the visuals.
To check that it's turned on:
- Put on your Quest 2 headset and make sure it's turned on
- Press the menu button on the right-hand controller
- Click on the settings cog icon on the quick menu at the bottom
- Click on the settings cog at the top of the screen
- Look for "experimental" settings and tap it
- In those settings you should find an option for 120Hz refresh rate
- Make sure it's turned on

Take a screenshot with your Quest 2
One of the things we gamers like to do is take screenshots of what's happening in our game. It's possible to do this on Quest 2 as it is with other devices. You can also use the Quest 2 to record footage when you're playing pretty easily as well.
To do this open the menu and click the sharing icon at the bottom. You'll then see the option to either capture a screenshot or record. Click that and you'll see a flashing light to let you know it's happening. There's also a shortcut to capture a screenshot as well:
- Press and hold the menu button on your right controller
- Then press the right-hand trigger and you'll take a screenshot

Activate parental controls
If you're worried about what your kids might be up to inside their Quest 2 headset then you can take advantage of the parental controls introduced with V53 of the Meta Quest software.
These controls allow parents to manage what can be viewed in the browser on the headset. From the Meta Quest app that's connected to the headset, you can select to block various websites based on their content including those that include things like sexual content, gambling, dating, alcohol and tobacco and more. You can also set different blocks for different users who have accounts on the headset.