Upgrading your CPU is easier than you might think. Alongside adding more RAM and a new graphics card, it's one of the most worthwhile things to do.
We've written before about how to build your own gaming machine - if you've done that, then you should feel fairly comfortable installing components. Upgrading your CPU is partly just reversing the original process to remove your current device and installing a shiny new one.
There are a few prerequisites though. Like knowing which CPU to buy, will it fit? Is it worth the money?
Follow our handy guide for everything you need to know to upgrade your CPU for more gaming juice.

Checking CPU compatibility
The first step is to check your motherboard's compatibility list. Motherboard manufacturers should have a list of CPUs that will work and that makes a first easy port of call.
If you know the model of your motherboard and the CPU in your current PC then this can really help.
Watch out for socket type
There are different things to be aware of - especially the socket type of the motherboard. Motherboard sockets change over time, which can mean a change in the shape and complexity of the socket, so you can't just buy the latest Intel CPU and hope it will fit.
However, sometimes you can install newer generations of CPU in an older motherboard. Intel's 10th and 11th generation of CPUs worked with LGA 1200 socket. This meant that there were both Z490 and Z590 motherboards where you could install either generation of CPU.
If, for example, you owned a Z490 motherboard and an Intel 10700K processor, then you could potentially upgrade to an i9-11900K or simply move from 10700K to an 11700K. But you couldn't purchase a Core i9-12900K as that's an LGA 1700 socket.
Intel also has a handy tool to find the right CPU to match your motherboard or vice-versa. Alternatively, you can use a site like PCPartPicker where you can search for your current motherboard and find it and then see which CPUs are offered as being compatible.
Poke around with these tools and you'll soon find the possible upgrades. This can even be a significant upgrade from something like Core i3 CPU to an uber-powerful Core i9 if you had the cash to splash. Once you know what will fit, you just need to find somewhere to purchase the upgraded CPU.

Additional tools for the job
As well as the new CPU, you'll also need a couple of other things to get this job done cleanly and neatly:
- Something to clean the thermal paste off the current CPU
- Some new thermal paste to apply to the new processor
- An anti-static wrist strap or ESD grounding mat
The anti-static strap will ensure you don't accidentally damage the machine while carrying out the work.
Readying your machine
An important part of ensuring your computer can handle the upgrade is to make sure you're running the latest BIOS version. This is easy to do thanks to a free piece of software known as CPU-Z.
This nifty tool not only tells you what CPU you're currently running, but gives you access to other data that includes the version of your BIOS and the date it was released.

Download and install the software, then click the "Mainboard" tab to see the BIOS info. Check this, then refer to your motherboard's support page to see the latest BIOS version. Download and install with care.
Once that's done, you're ready to get started.
Starting the upgrade
Now comes the process itself. We'll break this down step-by-step to make it easier. Scroll through the gallery above to see each step for guidance.
Firstly you'll need to unplug your machine and find a nice flat surface to work on then:
- Attach the anti-static strap to yourself and to an earthing point - a radiator works perfectly.
- Unscrew the CPU cooler/heatsink and detach any cables that might get in the way.
- Set the screws aside and carefully pull the cooler off.
- Apply some small drops of thermal paste removal solution to your lint-free cloth.
- Wipe the worst of the compound off the CPU taking care not to get moisture or mess on your motherboard.
- Repeat this process with the cooler/heatsink.
- Apply the purifier to another clean cloth and apply that on both the CPU and cooler/heatsink.
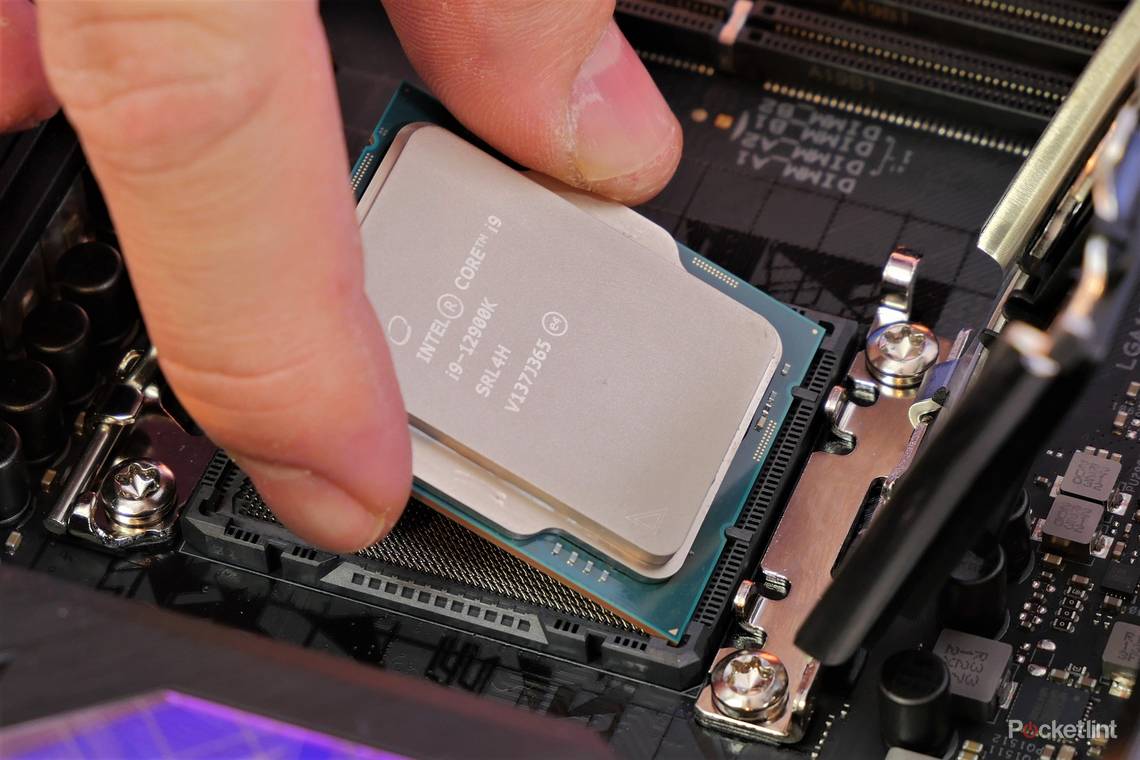
- Remove the lever holding the CPU in place, lift up the flap and gently remove the old CPU by lifting it by the corners.
- Ready the new Intel CPU, remembering the gold arrow in the bottom corner should point that way when installed. You're installing the new CPU in the same way the old one came out.
- Carefully and gently push the CPU into place.
- Replace the flap and ease the lever back into place to hold it down.
- Ready the new thermal paste.
- Apply a small amount of thermal paste in a pattern that will cover the entire CPU but not come out of the edges.
- Replace the CPU cooler, reattach and tighten the screws to keep it in place.
- Remember to plug all necessary cables back in.
That's it. Job done. Easy right? Now all you need to do is plug it back in, reboot your machine and enjoy the extra power.