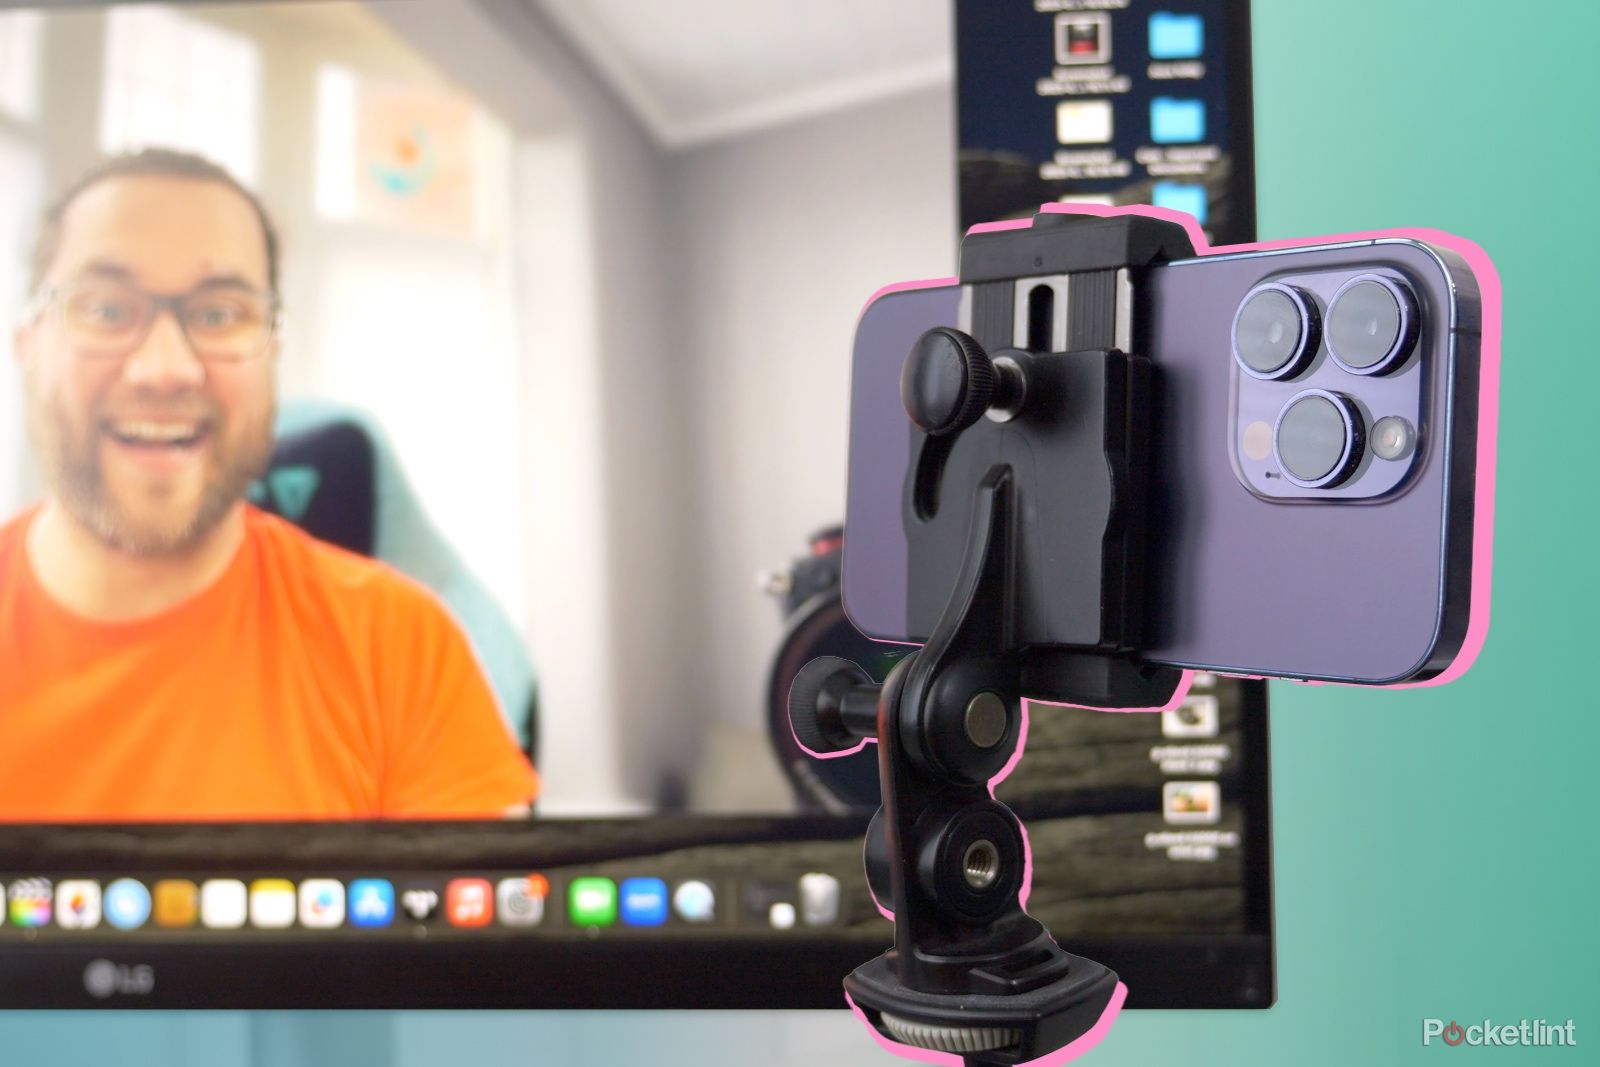
Over the past few years it's become more important to have a good webcam. Thanks to the rise in remote working, more of us than ever are needing to be on video calls frequently, and the camera on your Mac probably isn't the greatest in the world. Thankfully, Apple added a feature in its recent updates that will allow you to use your iPhone's main cameras as your webcam, and make use of a bunch of features that make it far more versatile than most webcams.
What do you need for Continuity Camera to work?
First things first - you need to make sure you have the right hardware and the right software, and you need to set it up right.
Most important - you need MacOS Ventura running on your Mac. If you haven't updated to that software version yet, and you're running an older version of MacOS, this won't work. As long as you have a compatible machine, download the updated OS, and then you can get started.
You also need to make sure you have a compatible iPhone. That's everything from iPhone XR or later. So as long as you have a phone from the last 4-5 years, you're good. Some features like Centre Stage only work on iPhone 11 or later, and Studio Light is from iPhone 12 or later.
Setup
Once you've confirmed you have compatible machines you need to make sure you've set up the two devices to work with Continuity Camera. Both devices need to be signed in to the same Apple ID, and both also need Bluetooth and Wi-Fi switched on. You also need to check the feature is enabled on your iPhone. Open Settings > General > AirPlay & Handoff. It should be switched on in this menu by default, but if it's not, toggle it on.
Once all that is checked, your iPhone needs to be near your Mac, mounted - either using a dedicated accessory to clip it to your Mac, or a tripod.
Your iPhone needs to be stable, and it needs to be locked in order for this to work. You also need to ensure your rear cameras are pointed towards you with an unobstructed view, preferably in landscape orientation.
Use your iPhone as a webcam
Now open your video calling app. When set up correctly, if you open FaceTime it should automatically detect that your iPhone is available nearby, and then choose it automatically. It makes a little jingly sound when it first activates. If it doesn't work, click on 'video' in the top toolbar on your Mac, and under 'camera' you should see the option to choose your nearby iPhone. If it doesn't, check the setup process again, and make sure your iPhone is mounted securely. Close and restart FaceTime.
It will work with third-party apps as well. For instance, with Zoom, again, it should be the default choice. If it's not, click on Zoom in the MacOS toolbar, select 'preferences' and then 'video'. Now click the drop-down menu beneath 'camera' and choose your iPhone.
Use your iPhone's audio too
If you want to use the iPhone's microphone as well, you can. Just head to your Mac's settings, go to 'Sound' and then choose your iPhone in the input tab.
Wired mode
As a bit of an aside, you can also use it wired. Just plug your iPhone into one of your Mac's ports and it should just work. It's also handy to plug it in just to keep the battery from draining while on a call.
Using Studio Light, Centre Stage, Desk View and Portrait mode
Now it's set up, connected and working you can use a number of different camera features. Centre Stage - as an example - will keep you in the centre of the frame, cropping into the sensor and moving the frame. Studio light and Portrait effects add those background blur and artificial lighting effects Apple uses in the camera app.
To enable those, make sure your Continuity Camera feature is active by opening FaceTime. Now go to Control Centre by clicking the little icon in your Mac's top bar (it looks like two toggle switches). You'll see a control for 'Video Effects'. Just click on any of the options to enable them.
One last thing that could be useful is Desk View mode. If you click on this from the Video Effects menu you'll be able to choose an area to offer as a second, mirrored, top-down angle. This only really works well if your iPhone is mounted above your screen/monitor.
Switch Continuity Camera off
If you don't want your iPhone detected as the default webcam for your Mac, open Settings > General > AirPlay & Handoff on your iPhone and disable Continuity Camera. Done.
So there you go, a quick guide on how to use your iPhone as a webcam for your Mac. It's simple, but your video quality will be massively improved over the webcam you're using on your MacBook.

