We've had Google's Nest Wifi installed in our home since it launched in 2019 and while there is a newer offering available in the Nest Wifi Pro that supports more recent Wi-Fi standards like Wi-Fi 6E, the Nest Wifi is still available and a great option.
It also has some pretty nifty features within it, like Google Assistant built into the Wi-Fi points and a Guest Network mode that allows anyone visiting your home to connect to your Wi-Fi network without you having to give them your credentials. You never know when you won't be friends anymore after all.
One of the best features the Nest Wifi has though, is the ability to prioritise devices. It's not a new feature - it's been around since 2020, but it's a hack we wouldn't be without, especially when your broadband is having an off day.
How to prioritise devices on Nest Wifi
There are a couple of downsides to this prioritising devices hack. Firstly, you can only prioritise one device at a time, whether that's your laptop for a video call, a file upload, or your TV when you're streaming that Ultra HD film you've been dying to see since it was released at the Box Office.
The second downside is that you would perhaps expect your Wi-Fi to know what it needs to prioritise without you needing to tell it. Sadly that's not always the case though, so for the times when you really need that video call not to turn you into a pixelated mess, or that action scene to start buffering during the best part, follow the steps below to prioritise a device on your Nest Wifi.
- Open the Google Home app.
- Tap on the Wi-Fi icon.
- Scroll down past Devices.
- Tap on Set Priority Device.
- Select the device you want to prioritise.
- Choose between 1 hour, 4 hours or 8 hours.
- Tap on the tick in the top right corner.
- That's it!
Any more Nest Wi-Fi tips?
Yes, there are a couple of other useful tips Nest Wifi offers, as we briefly mentioned.
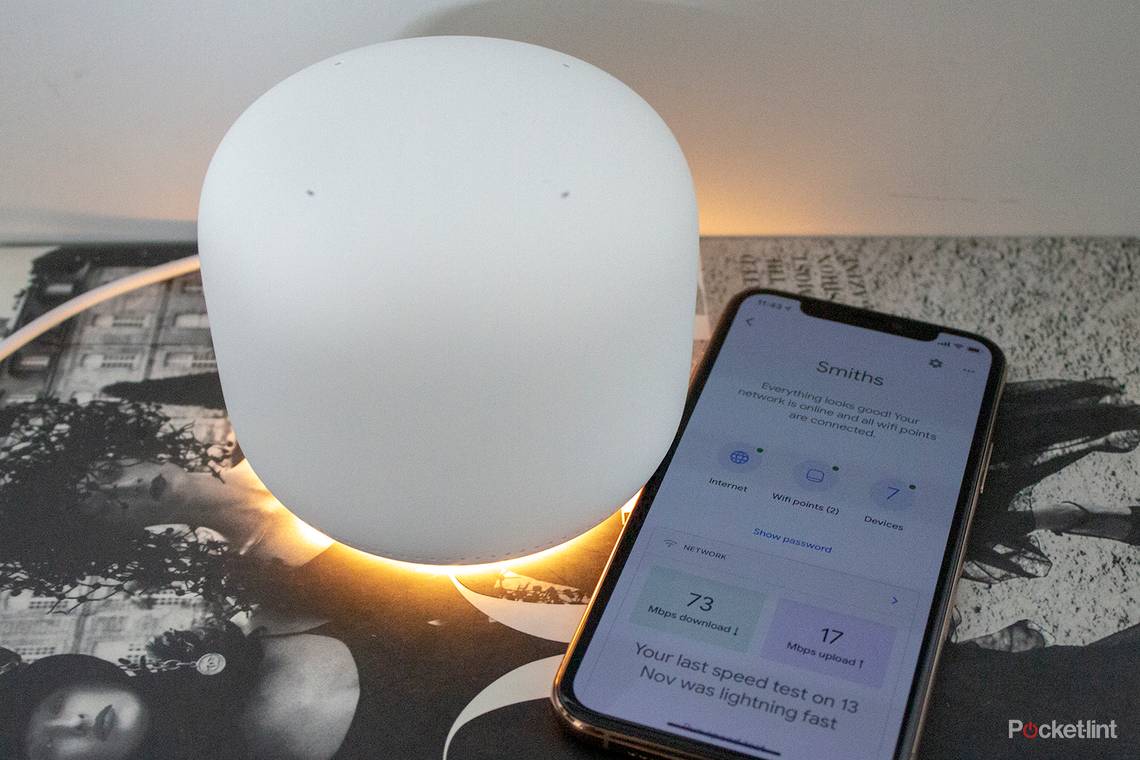
Opening the Google Home app and tapping on the Wi-Fi icon allows you to see a range of options, including running a speed test and showing you your password. You can also see how many devices you have connected to your Nest Wifi and if you tap on the device number in the circle, you can see a breakdown of what these devices are, and pause individual devices that don't need to be connected in order to free up some bandwidth.
Below the option to set a priority device, there is also the option to set up Family Wi-Fi. This allows you to pause Wi-Fi on children's devices at bedtime, or pause Wi-Fi in the moment. You can also block adult sites on any device using this feature.
Below the Family Wi-Fi option is the Guest Network setup, which allows you to create a separate network for your guests that you can easily share the password for. You can then select the devices you want them to have access to.
The last quick tip we have for you is restarting your network. Rather than finding yourself crawling on the floor looking for your router to restart your Nest Wifi if it's playing up, you can restart the network in the Google Home app. Open Google Home > Tap on the Wi-Fi icon > Tap on Settings in the top right corner > Tap on Restart Network > Confirm Yes.