Quick Links
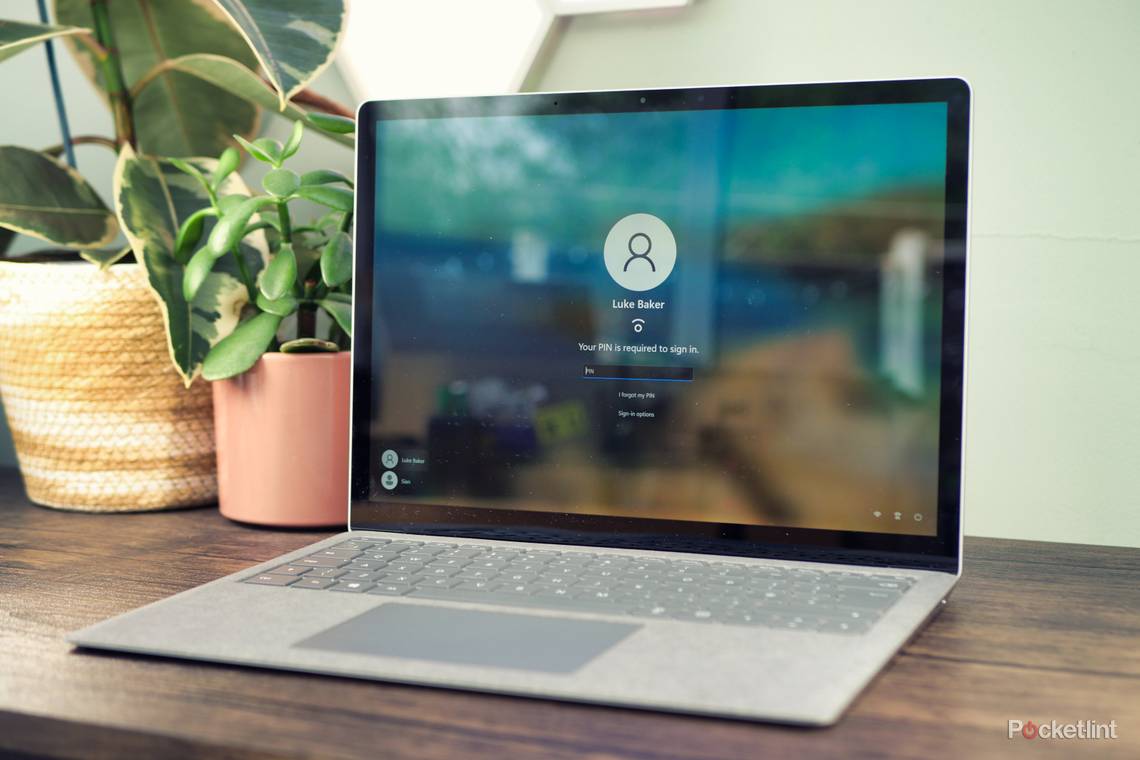
If the person that set up your computer gave you an unusual username, or you just fancy a change, then it's worth knowing how to change it in Windows 10 and Windows 11.
As with many things in Windows, it's easy to do, but it's not always easy to figure out where to start. And, to add more confusion to the mix, there are two types of Windows accounts - local users and Microsoft online accounts.
Don't worry, though, it's simple to change your username on both types of accounts, with a little know-how.
There are a few ways to go about this task, and we'll take you through each method below. If you have a Microsoft account, you'll want to try the first method, and if you have a local account, skip to the second.
How to change your username on the Microsoft website
During set-up, Microsoft heavily suggests creating a Microsoft online account rather than a local user, so there's a good chance you have one of those.
If that's the case, then just follow the steps below:

- Go to your account page on the Microsoft website and log in
- Click Your info in the top menu
- Click Edit name on the right-hand side, under your profile icon
- Change your name to your preferred name
- Click Save, and you're all done
It's worth noting that it can take a little while to see the username change on your PC. We recommend restarting your computer after the name change to see it take effect.
How to change your username with Control Panel
If you're using a local account, you can change your username offline in Windows. Here's how to change your username with Control Panel:

- Click on the start menu and type "Control Panel"
- Click on the Control Panel app to open it
- Find User Accounts and click on it
- Click Change your account name
- Click Yes in the User Account Control window that pops up
- Enter your new name in the New account name box
- Click Change Name when you're finished
You might need to sign out and sign back in again to see the name change take effect - or you can restart your computer.
How to change your username with the Run command
If you prefer the more direct approach, you might want to try using the Run command to edit your username. Here's how that works:

- Press the Windows key on your keyboard and R simultaneously
- You should see the Run command window pop up
- Type "netplwiz" in the box and click OK
- Click Yes in the User Account Control window
- In the User Accounts window, click on your username
- Then with your username highlighted, click on Properties
- In the Username box, delete your old name and enter your new one
- When finished, click on Apply and then OK
How to change your username in PowerShell
If you want to feel like an elite hacker, Windows PowerShell is the way to go. You can edit your username just by typing a couple of lines of code. Here's what you need to do:

1. Click on the start menu and type "PowerShell"
2. Type the code below and press Enter to see your current username
Get-LocalUser
3. Enter the code below, replacing the placeholder text with your current and desired usernames
Rename-LocalUser -Name "Insert your current username" -NewName "Insert the new username"
4. Hit enter, and your name will be changed
5. Log out and back in again, or restart your computer to see the change