Although digital versions of Wii U games are nowhere near as large in file size as those available for Xbox One or PS4, nor do you require to install disc-based titles, you will still more than likely find yourself running out of storage space on your Nintendo console.
The hard drive on the premium version is limited to 32GB, for instance, which is tiny in comparison to the drives in rival machines, even smartphones these days. And if you consider that games can weigh in at more that 7GB apiece - Hyrule Warriors, for example - you'll soon find that HDD full to capcity if you buy most of your software through the Nintendo eShop.
Luckily, Nintendo had the foresight to include support for external hard drives and USB memory sticks, and it made the process of expanding the console's existing hard drive space through their use as easy as possible - even easier than adding extra storage to the Xbox One.
We actually had to do it ourselves recently, as review software for the Wii U more often than not comes in digital code form so our hard drive was chock-a-block before expansion. And as we already had a 320GB external HDD knocking about, it seemed a natural fit. It's also worth considering an even larger drive than that as there are reports of people successfully using storage solutions of up to 4TB, although we think that's a bit overkill.
We even found a 1TB external drive we tested to be a bit much (hence opting for the 320GB version), but at least you know it works.
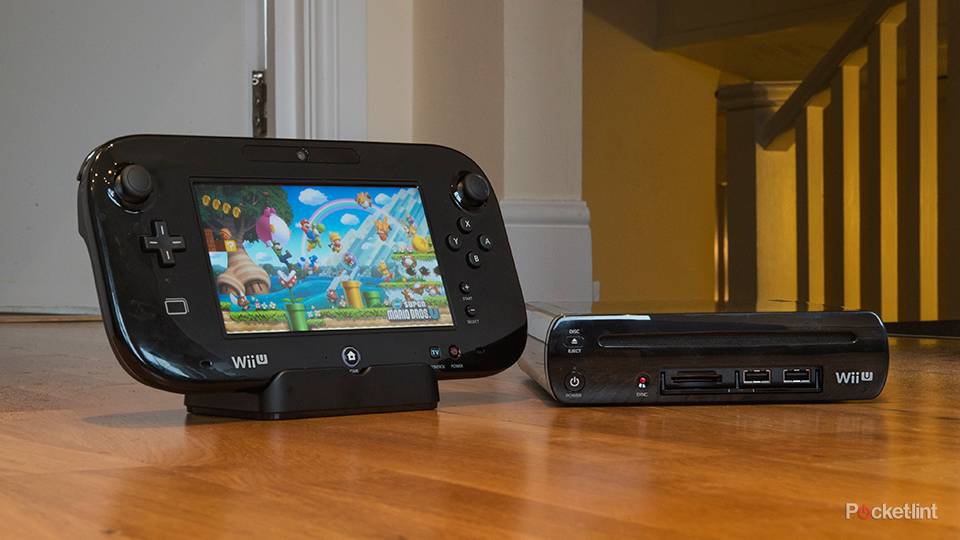
READ: 10 great games that will make you buy a Nintendo Wii U
The drive
The external HDD we opted for was a Samsung S2 Portable model we've been using with a laptop for the last few years. It's compact and can happily sit out of the way, but one of the best reasons to choose it was that we already knew it ran nigh-on silently.

The Nintendo Wii U also has USB 2.0 ports rather than 3.0, which opens up the possibility of using a vast array of external drives rather than the USB 3.0 models required for Xbox One. Indeed, you could opt for the same amount of memory as us and it will only set you back little more than £20 for the drive itself.
That said, you might prefer a 7200RPM drive for faster loading times, although we've found little difference between loading games from our external drive than from the internal 32GB storage.
READ: How to upgrade your Xbox One storage by 2TB and more: That’s up to 100 games
The cable
What you must consider though is that the Wii U's USB ports are not capable of reading and writing to an external drive and powering it properly as well. Nintendo therefore advises you opt for a HDD that is separately powered, and publishes a list of recommended drives - although we found them all to be unnecessarily expensive options.

One way around that though, something we discovered, is to buy yourself a USB Y-cable. Ours has two USB A connections at one end with a mini-B connector at the other. You can also get them with other connection types, including micro-B, depending on the external drive's requirements.
Our cable cost just £3.99 but you can get them for even less if you shop around.
READ: How to upgrade your PS4 hard drive to 1TB or more for less than £60
The set-up
Once you have your drive and cable the actual set-up process is dead simple.
While the console is switched off, plug the small end of the USB cable into your drive and the two Type-A USB connections into the two USB ports on the rear of the Wii U. You can plug them into the front ports, but they'll get in the way and you might fancy plugging something else in those in future.

Switch the Wii U on and once it reaches the menu stage it will automatically detect that you have an external storage solution plugged it. The console does require its own formatting process though before the drive can be used, so it will offer that as an option, which will show up on both the main screen and the Wii U Gamepad. Format the drive and that's it - simple.
The Wii U will, in future, recognise that you have extra storage space and will install downloading games to the drive by default if you've already filled the internal space. However, if you want to move across files to the new drive so that future titles install directly onto the Wii U, you can do that too.

Head to system settings and then "data management". Select "copy/move/delete data and the next screen where you will see both the system memory and your new USB storage device listed. You can also see how much free space is available on each.

Tap on the original source and you'll get a screen that provides the option to copy/move an item or delete it. Naturally, you'll want to select the copy/move mode in the top right hand corner and on the next screen you can choose the game or save files you want to move across. Tap "move" and job done.
Additional information
One of the things we found out is that you can also add another USB storage device but cannot play games with more than one connected at a time. Instead, you can plug in another (while the console is switched off) to move files between them - if you are backing up save games, for example.
It is also recommended that you opt for a hard drive rather than flash memory to store full games on as you can write and rewrite onto flash memory far fewer times than a HDD before it becomes unstable.