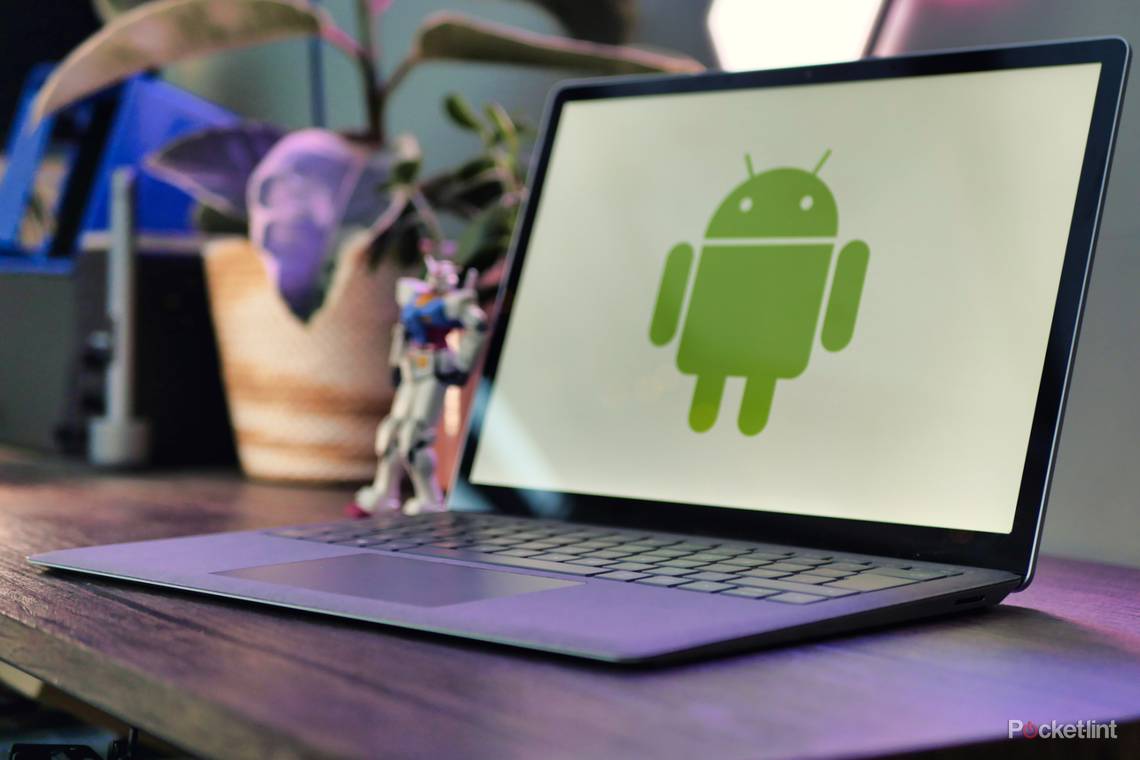
The addition of support for Android apps is one of Windows 11's most exciting features.
Unfortunately, Microsoft relies on the Amazon Appstore to supply these apps and it's much more limited than a storefront like Google Play.
This means that a lot of your favourite apps are likely missing, but, with a little tech know-how, you sideload pretty much anything.
It's not the easiest, and technophobes might want to steer clear, but it doesn't take long and has the potential to unlock some very cool capabilities.
We should also note that there's no guarantee that unsupported apps will work properly, but we've had great success so far.
In this guide, we'll tell you everything you need to know about sideloading Android APKs on Windows 11.
What you need to begin
Before we get started, you'll need to check your machine's specs, as the minimum requirements are a little higher than you might expect.
You'll need:
- 8GB of RAM or higher (16GB recommended)
- 8th Gen Intel / Ryzen 3000 / Snapdragon 8C or newer processor
- An SSD boot drive
- Windows 11
You'll also need to head to the Windows Store and download the Amazon Appstore. Even if you don't intend to use it, the Appstore install process adds Windows Subsystem for Android to your machine, and we'll need that for the apps to work.
As a side note, we found that the Amazon Appstore install process was freezing for us, which is a bit odd. We rectified this by opening 'Turn Windows features on or off' and enabling 'Virtual Machine Platform'. You shouldn't need this step, but we did, so we thought we'd mention it.
Getting set up
Once you have the Amazon Appstore installed, follow the steps below:
- Click on the Start menu or press the Windows key
- Find and open Windows Subsystem for Android settings
- On the left-hand side click Developer
- Click the toggle to enable Developer mode
- Take note of the IP address on this page, we'll need it later
- Close the settings menu
Next, we'll need a command prompt tool called Android Debugging Bridge from our friends at Google. You can download that from here.
Once it's downloaded, unzip it, and we'll come back to it later.

Sourcing APKs
There's always a risk that comes with installing APKs from a third-party source, so if you want to be super safe then your best bet might be using an extraction tool to save APKs from your Android phone.
One such tool is ML Manager, and it's nice and easy to use. Of course, this part is only useful if you own an Android device.
If you don't own an Android phone, or your desired app isn't on the Play Store, then you'll need an online source. We've had great results with APK Mirror, just remember, you'll only be able to access free apps - as downloading paid versions would be piracy.
Installing an app
Once you have your app and all the prerequisites, it's time to install it. We're using the Netflix APK as an example, but the process is the same for any APK. Just follow the steps below:
- Navigate to the unzipped Platform-tools folder that you downloaded earlier
- In the folder, right-click on an empty space and choose Open in Terminal
- In the terminal window, type .\adb connect ip-address (replacing IP address with the numbers you noted down earlier)
- Hit enter, and if successful, text will alert you that you're connected
- Find your APK, right-click on it, and select Copy as path
- Head back to the terminal window and type .\adb install
- Paste the file path and press enter
- Wait a moment and text should alert you of a successful install

If all has gone according to plan, you can close the terminal window, and you'll find your Android app in the start menu just like any other program. Job done.