Fancy dousing your film in bleach? Or maybe sticking sweet wrappers across your lens? Then go right ahead. Lomo photography is all about being creative and the good news is that if you mess it up and your shots don't turn out how you intended you can just tell people that was exactly what you meant to do, and they'll never know any different.
We've pulled together a selection of lomo tips to get the best out of your film. Lots of them are straightforward and will sound laughably simple to existing film-only shutterbugs, but if you're a newbie then you should find plenty of new stuff to keep you amused. From the bleeding obvious to the utterly preposterous, we've got it covered. Read on for our selection of tips for Lomo users.
Camera
1) Choose a camera - Film-based cameras vary greatly and each one offers something different. If you're after something cheap then the Lomo Diana Mini (£40) is a good place to start. You can also choose from fisheye cameras, the Spinner 360 (that can take 360-degree panoramas) or Lomo's classic LC-A+ or even the brand new LC-Wide, both offering vignetted images. While Lomo is the biggest and best-known analogue brand around, there are also some other cool options around including the Blackbird Fly TRL (Twins Reflex Lens) model.

2) Drill - If you want a no-frills method of adding some extra light to your pictures then you might like to try drilling some holes in your camera's casing. Just be careful, you don't want to end up in hospital with a drill bit through your hand mumbling some nonsense about intentional light leaks.
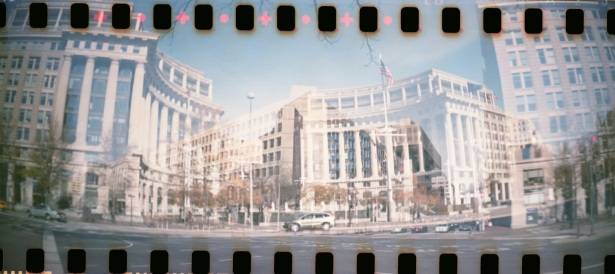
3) Winding film - Rather than winding your film on all the way between shots, try winding it half-way (or slightly less or more) so that you end up with overlapping pictures. Alternatively, don't wind it on at all and take two snaps on one frame for a cool double exposure (see tip number 5).
4) Focus - Flick the focus switch back to infinity every time you alter it for a close-up snap, otherwise you're bound to forget to change it back and you'll end up with roll of disappointingly out-of-focus snaps.
5) Multiple exposure - Taking two or more snaps on the same frame is known as a double exposure (or multiple exposure or MX) and can be used to take contrasting images for a cool effect. If you take two snaps of the same thing on one frame (without the steadying effect of a tripod) then you'll get a pic that looks like it's moving. Sort of.
6) Soft focus - For an easy soft focus effect, take off the camera lens (obviously you can't do this with a fixed lens camera), breathe on the back of it then replace and snap away. Alternatively you can attach a clear plastic bag to the lens with a rubber band or use the old 'Vaseline on the lens' trick. Just make sure you use an old lens that you don't mind getting a bit gunky.
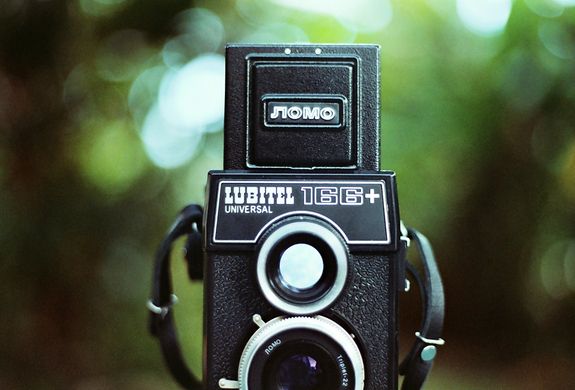
Photo: boredbone
7) Bokeh - Coming from the Japanese word for blur or haze, Bokeh refers to the blurring of out-of-focus areas of a photo - usually most noticeable on light sources. The idea is that the subject of your shot stands out better against a blurred background. Use the largest aperture setting possible to reduce the depth of field. This should result in anything beyond what you're focusing on appearing blurry.
8) Long exposure - Experimenting with long exposures is great for night time shooting, producing flourescent hues, light trails and ghosting. Simply switch to the bulb ('B') mode and rather than clicking the shutter release down and back up instantaneously, hold it down to take in as much light as possible.
Colour
9) Colour gel - Try injecting some extra colour into your snaps by making use of the colour-gels that can be used with the flash. Available in a rainbow of colours, these tiny pieces of coloured plastic can be fitted across the flash bulb to add different hues to your photos.
10) DIY colour - If you want a more vibrant coloured effect than the colour gels on the flash offer then shoot through something like a coloured cellophane sweet wrapper taped to the front of your camera lens. You can make your own coloured filter using a felt tip pen and a piece of sticky tape.
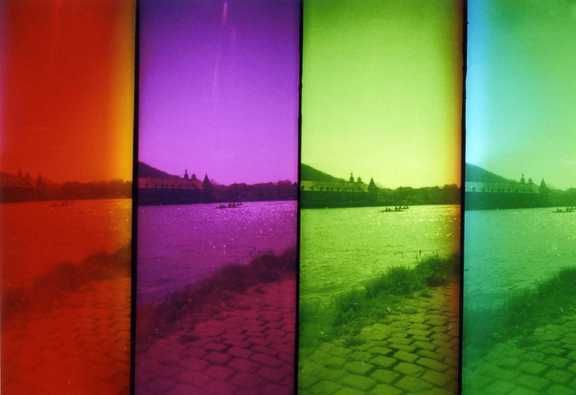
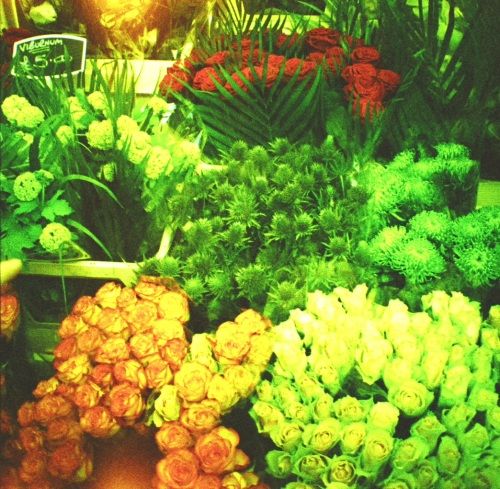
Photo: bettmensch
11) Colour frames - The previous tip also works particularly well on multi-lens cameras, where one click of the shutter release takes several photos in quick succession, which then appear in sequence on a single print. You can also temporarily black out one or more of the lens using gaffer tap, so that you get black frames in between shots.
Film
12) Slide film - If you want something a little different, then check out slide film. This offers bold colours, intense saturation and extreme contrast so you'll end up with a much more vivid effect than you'd get with conventional film (see tip number 24 for more info on slide film processing).
13) Redscale - For a really retro effect, get yourself some Redscale film which, as the name suggests, will give you some warm orange, yellow and red tones. It's got a film speed of just 100 ISO, so make sure you use it with plenty of flash or in bright sunshine or your pictures will end up being too dark.
14) Expired film - Get yourself on eBay and track down some out of date film. Don't worry that it's past its sell-by date - the colours may not be perfect but you might end up with some interesting effects. The older and more obscure the film, the better. Chemists and corner shops are also good for tracking down expired stock.
15) Infrared - We've already talked about using out of date film, but the holy grail for eBay-scouring analogue fans is colour infrared film. The last remaining manufacturer was Kodak although it too discontinued production a few years ago. If you do manage to track any down it will give your images dazzlingly vibrant hues (for example, greenery appears bright pink).
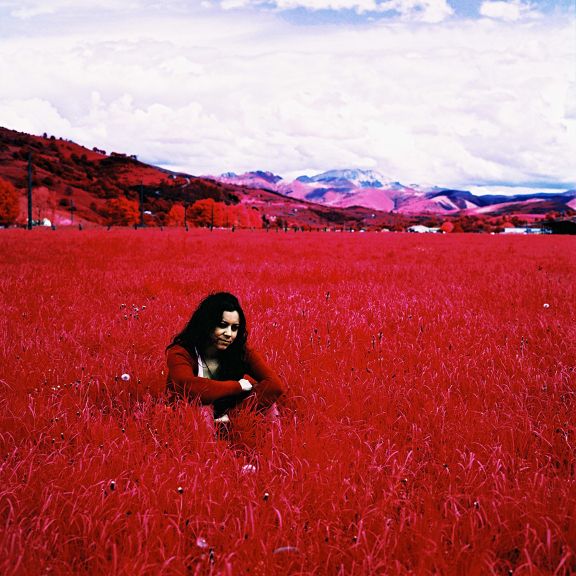
Photo: makny
16) Re-use the film - Once you've finished a roll, you can use it again so that you end up with two sets of pictures on the same roll for some really cool effects. Just wind back your film as normal, but take care to leave some film sticking out of the canister to grab hold of (it helps if you're familiar with your camera and know roughly how many turns of the rewind lever it usually takes to rewind fully). Once done, either re-spool the film or load into a different camera for a more varied effect.
Post
17) Bleach - Bung your negatives in the sink, dilute some household bleach with a little water and pour over in whatever pattern you like. Rinse off within a few seconds (no longer or they'll be nothing left to develop), dry and then scan or take into the photo shop for scanning. Best to try it out on some old negs first, rather than anything that you don't want to ruin. And take due care with the bleach.
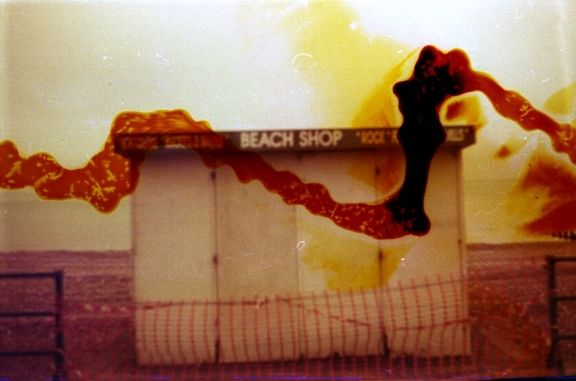
Photo: nick_a_tron
18) Negative doodles - Try drawing frames, captions or random shapes on your negatives using a CD marker pen, then re-scan and marvel at your own creativity. Just don't doodle all over the only copy of the negatives from the birth of your first child or anything as you may regret it.
19) Bend it - After shooting a roll, and before having it processed, take it into a dark room and pull some film out of the canister. Then either bend it or stratch some pictures or words into it, then wind it back in. This will result in random lines and patterns across your pictures and with any luck some of them will actually look like you knew exactly what you were doing.
20) Soak it - We've already mentioned using bleach on your negatives, but you can also try dropping your film (post-photography and pre-processing) into whatever takes your fancy - Coke, vinegar, detergent - the choice is yours. Afterwards, leave it to dry thoroughly before developing. It's unpredictable, but you should end up with some cool effects as the substance attacks the film.
21) Scratch it - If you've got some spare prints then why not get a little arty and customise them. Scratching pictures and words onto existing photos gives a really cool effect, particularly as a personalised postcard or keepsake.
22) Wash it - Try bunging your films in the dishwasher or washing machine (no doubt some of you have accidentally left a film in the pocket of your jeans when putting them in the wash before now anyway). The detergent will result in some cool, colour effects. Just make sure you dry the films before having them developed.
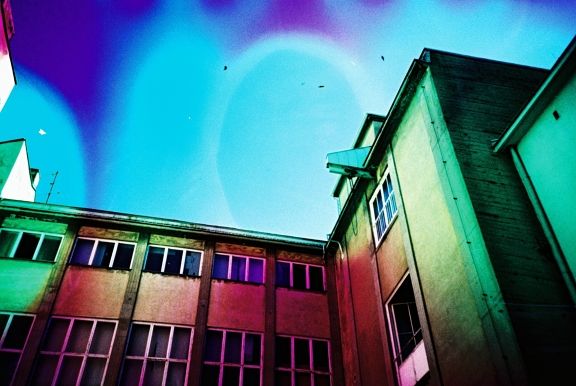
Photo: hti
23) Community - Get involved with like-minded shutterbugs and upload your shots to one of the many online communities. Along with the Lomography online photo-sharing community, there are plenty of Flickr groups to choose from - some with general themes and some that concentrate on particular types of film and camera. There are also various Facebook groups to join or you could always create your own to join in the fun and share photos and tips with fellow photographers.
Processing
24) Lomo-friendly labs - If you're taking your snaps into a camera shop, try to make sure that they're lomo-friendly. Be sure to ask for 'no colour correction' and ask them not to cut your negatives so that you've got them in tact should you wish to scan them. If you're using unusual film (like slide film) or a unconventional format (such as square) then let them know - the more you can tell them, the less likely they are to balls it up. Not all regular photo shops are geared up for developing sprocket photos, slide film or 120 film so it's worth checking first. Cult analogue brand Lomography recently published a list of lomo-friendly photo labs which will be updated as more are discovered.
25) Cross processing - Also known as 'xpro', this involves developing film in chemicals meant for other types of film for an arty effect. For example, colour film is usually developed in C-41 chemicals, so that you end up with a 'negative' effect, while slide film uses E-6 chemicals. If you switch these two around then you'll end up with all sorts of different grain and colour effects. If you don't have your own darkroom at home, you can ask for xpro when you get your films processed. Many high street camera shops won't offer this service so you might need to seek out a specialist shop (see tip number 24).
Accessories
26) Tunnel vision - If you don't want to splash out on any extra lenses or a fisheye camera then you can create your own effects using the bottom of a glass. Simply hold it over the lens while taking a snap and you'll get a cool, 'tunnel-vision' effect.
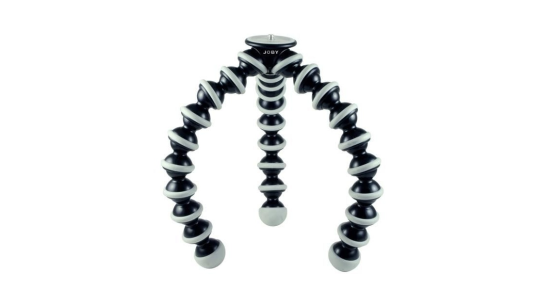
27) Tripod - Get yourself a tripod. This might go against the whole 'shoot from the hip' ethic that many film photographers love, but if you're trying to get a specific shot right then having a steady camera is a good start. You can pick up the compact and fliexible Joby Gorillapod for as little as £10.
28) DIY filter - For an arty effect, you can shoot with pretty much anything you like in front of the lens - whether that's a thin piece of fabric, some coloured glass or a simply a piece of card with strategically cut-out shapes.
29) DIY mask - As well as covering your lens for some interesting effects, you can also create your own 'mask' to fit inside your camera. Simply print any design you like on a transparency, trim to fit the frame size of your camera and carefully tape inside. Depending on the camera, you'll need to put it upside down as the image will be inverted on your snaps.
30) Lens swap - If you've got more than one analogue camera, then try swapping the lenses around. For example, you could try pairing a wide angle lens with a fixed-lens camera. Obviously you won't be able to screw it on, but it the size fits then you can temporarily attach it with gaffer tape.
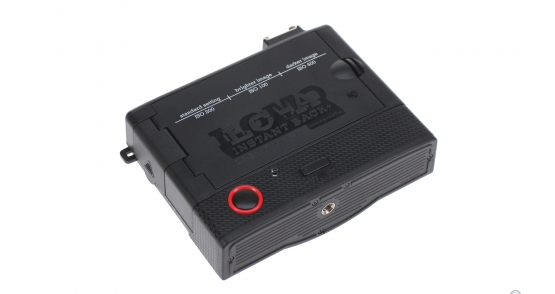
31) Instant snaps - If you can't wait to get your prints back from the developer then you might like to try out an instant back. This enables you get Polaroid-style snaps instantly and Lomography produces them for both the LC-A (£95) and the Diana+ (£70). Both take Fuji Instax Mini film (£10 for a pack of 10) which results in credit card-sized snaps in seconds.
32) Scanner - Investing in your own negative scanner could save you some money in the long-run as then you'll only need to pay for processing rather than to have your prints put onto CD and printed as well. Scanners range from budget models such as the Veho VFS-004 5MP 35mm negative scanner (£42.41) to conventional flatbed models that double up as neg scanners, such as the Canon CanoScan LiDE 700F (£84.99). Alternatively, you can get yourself a DigitaLIZA scanning mask from Lomography which can be used with most flatbed scanners and is specially designed to cope with sprocket film. Yours for £25.
Got any more tips of your own? Let us know in the comments box below.