Apple's lineup of iPads is a hugely impressive one, full of amazing tablets that offer so much at a range of prices, from the really powerful iPad Pro options to the more basic but still brilliant standard iPad.
Whichever iPad you have, though, its potential is largely tied to its ability to connect to the internet, to power its apps, let you browse the web and add more tools and apps entirely. So, if you're struggling to get connected to your Wi-Fi network, here's how it works on iPad.
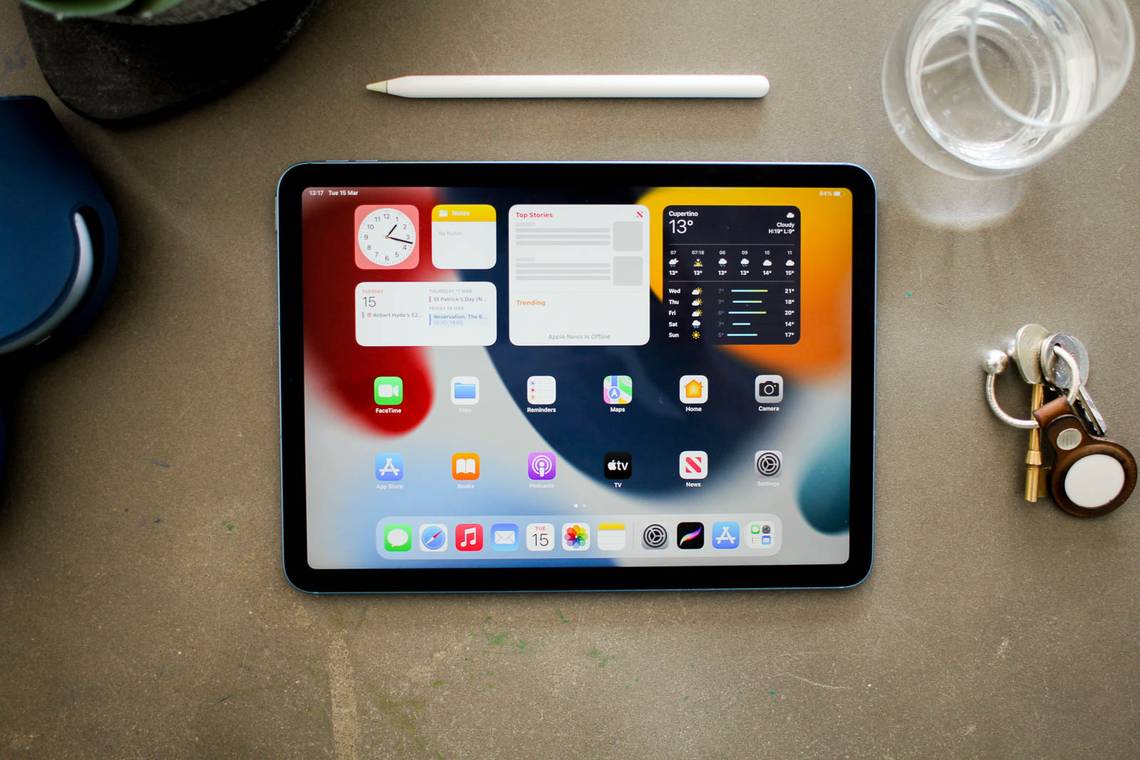
How to connect iPad to Wi-Fi
If you're trying to connect your iPad to your Wi-Fi network, here are the steps you need to follow. They should be the same regardless of which model you're using.
- Open the Settings app on your iPad
- Tap on the Wi-Fi option
- Make sure that Wi-Fi is toggled on
- Look down the list of connection options to find your network
- Tap on it, and if required enter the network's password
- Hit Join if needed
This will make your iPad attempt to connect and, proivded you've entered any passwords correctly, you'll soon be hooked up on the network of your choice.
Why can't my iPad connect to Wi-Fi?
If you're having difficulty connecting to Wi-Fi even following the above steps, it's worth triple-checking that you're inputting the network password correctly, as this is a common point of friction.
If the problem persists, you can tap on the little "i" symbol next to the network in question, then tap on Forget this Network to wipe your iPad's memory of the network.
Then, start again and you may well find that it works better this time - tech can be a little unknowable sometimes.
If you're still having issues, it could be worth booking a session at your local Apple Store to see if anything's wrong with your iPad on a hardware level.
They'll be able to take a look and ensure that everything's spick and span, or make any repairs that are necessary.