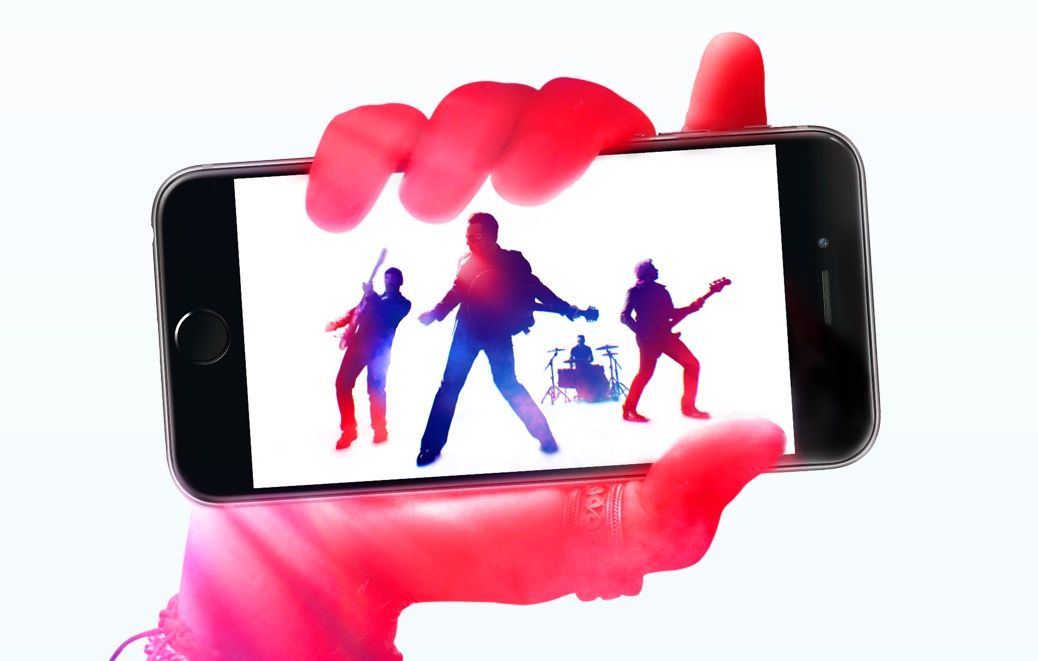
They are one of the most popular bands in the world, but following the announcement from Apple that it would be giving away the new U2 album on iTunes for free until the middle of October, many have turned to Twitter and Facebook to show their distain.
Whether you are too young to know who U2 are, are worried that your iTunes account has been hacked and therefore wondering how to explain your purchase history, or even just fall in the camp of not liking Bono, The Edge, and the other two band members that will forever remain nameless, then follow these three simple alternatives to get rid of the any U2 references in iTunes.
The really easy way
Click on this link, and you'll be taken to a dedicated page that will remove the new U2 album from your iTunes account. Once the album has been removed from your account, it will no longer be available for you to redownload as a previous purchase. If you change your mind after the 13 October, you will have to pay for it.
The quick way
The quickest way is to take the hit and download the Songs of Innocence album and then once you've done this immediately delete it. That will stop Apple's iTunes from reminding you that it is still there waiting to be enjoyed and you can move on with your life regardless.
If you really don't want to use your data allowance, be it from your mobile operator or home broadband, you could always go into an Apple store and use their free Wi-Fi instead.
The sightly longer way
Depending on your iTunes settings you may or may not see the U2 album anyway. If you use iTunes Match or have show iTunes in the Cloud purchases checked, you will.
To hide the album you have to go to iTunes on a computer (not your iPhone or iPad) and from your account name drop down (top right of the window) select Purchased.
Select Recent Purchases and then find the U2 album cover. Hover over the image and click on the small "x" in the top left hand corner. A window appears asking whether you want to hide the purchase. Say yes.
You now won't see it in your lists.
If when you get older you want to unhide the album, you can simply do so by going into your Account and choose to unhide hidden purchases in the iTunes in the Cloud section of the settings.
The risky way
You could take the risky way, which is downloading the album and listening to it. You never know, you may just like it.

