Filmmaker James Cronin knows a fair bit about lighting. Hired often as a director of photography but best known for his behind-the-scenes documentaries of Hollywood movies, he has a very good idea of how to set up for a video interview. Pocket-lint wasted little time in tracking him down to find out how we could improve the call quality our own video chats.
While there are no hard and fast rules to a lighting set-up (as you’ll read in moment), Cronin gave us a few basic pointers and guides on how to get started. So, as part of Skype Up Your Life, here are five pro tips on using lighting to make better video calls.
Get your key light right
“In most rooms, there’s a light source,” says Cronin as we begin our 30-minute 'lighting for film 101'. “It’s usually a window but not always.”
“Have the light source behind the computer screen. Then the light comes on to your face. So, if there’s a window, face the window and have your camera between you and the window. That’s probably the most important thing.”
The first obvious no-no when lighting a subject - as many will know from poorly exposed stills shots - is to do with backlighting. Backlighting has its place but, as a rule of thumb, it’s not going to work for video calls.
“Backlighting is quite a common mistake that people make. They think that if they shoot in front of a window it will look good because the light looks great outside, but the intensity of the light inside and out is so different that it never works.”

Of course, natural lighting isn’t always available and when using an artificial source, the more specific luminance of a bulb causes a harder light.
“If you’re using an artificial source for your key light, then I’d put some tracing paper in front of it. It diffuses the light and softens it and the light it gives you is then more flattering rather than creating hard shadows.”
Hard light can also be a problem with natural light if it’s a bright, cloudless day. So you might also want to consider putting a sheet of trace in front of a window if it’s not overcast. Either way, your key light is the important thing to consider. It's your major - and often only - light source.
Check your preview for the best positioning
One of the advantages when using your webcam is that you get a preview box of what the other person sees at their end. So even before you make your call, it’s probably a good idea to take a look at that to see where the available lighting works best for you.
“Make your preview as big as possible and take a look at how the lighting comes across. If you’re using a laptop or portable device, then move in a circle around them room and you’ll be able to find the best angle with what you’ve got.”
James Cronin, director of photography showreel
Most often, the best key light position will be when you’re at three-quarters to the main light and is often just the ticket when setting up for a home interview.
“If you’re directly in front of the light, it’s going to look flat. If you’re to the side or three-quarters on, then you’ll create some shadow to the face and that makes a more interesting image. It’s more flattering. You can see people’s features from one side but also have some shape and shadow to the face.”
Try a second light
A second light source, if available, can be very helpful too. The best option for a second position, according to Cronin, will often be a backlight - so long as it’s not used as your key lighting position.
“When you point a light directly behind someone, what it does is create definition between the person and the background. You get a very slight highlight that shapes the person. The idea is that the eye settles on the person without distraction, rather than making a very flat image where the background merges into the person.”

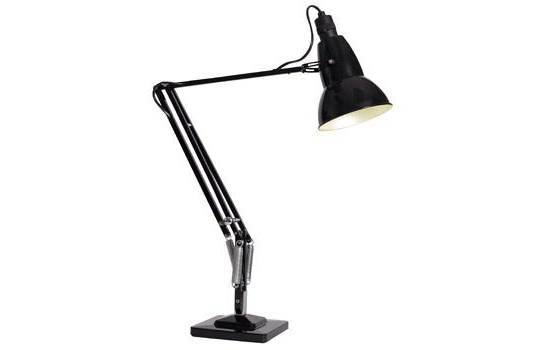
The nature of that second light is a tricky one though. It’s not always easy to find something where you’ll be able to control the source well enough. For example, a standard lamp might be too large and is non-directional and would certainly distract if it was in shot. Something like an anglepoise lamp would be perfect however. The added advantage of an anglepoise is that it’s easy to clip gels and trace in front of the bulb to soften and change the light.
Another good way to soften light is by bouncing it off a light-coloured wall or buying a small Lastolite circular reflector to shine your Anglepoise on to. The only issue to note when bouncing light off a wall is that if the wall is coloured, it will cause a change in skin tone on your subject.
Think about colour
We’re not suggesting that you bathe yourself in bright green or red light but it’s important to at least consider the effects of colour. For example, if you’re going to be bouncing light off a surface, do bear in mind what colour that surface is. Beyond that, you can still get a little more creative.
“To light someone with a colour tends to look a bit dodgy but coloured light on to a background - especially if you’ve got a business and company colours - then you could tie that in rather than having logos everywhere. It’s more subtle. It’s a good asset to use.”

To make the effect in a home setting, the simplest way is to peg some coloured gels to an Anglepoise lamp or similar. Even if you’re not intentionally using colour, it’s important to know that different light sources are often different colour temperatures, particularly when you’re talking about mixing artificial and natural light.
“Daylight is, roughly speaking, 5,600K. If you want to mixi in a second, artificial light, then you’ll need to use a filter called CTB, colour temp blue. That will take some of the warmth out and make it more of a daylight look.”
A nice tip if you’re trying to create the illusion of daylight without a natural light source.
Be prepared to break the rules
“There are certain rules that people work with but the nature of film is that there aren’t any rules. That’s the whole essence of lighting. It would be boring if everyone did the same thing. So, consider the rules above some nice groundwork - a few pointers that you can use to create your own look.”
You can take a look at some of James Cronin's films on his Vimeo channel here.